Get started with Console
The Getting Started dashboard in Console guides you through collecting and acting on your behavioral data. It organizes workflows into three sections: Fundamentals, Analytics, and Real-time use cases.
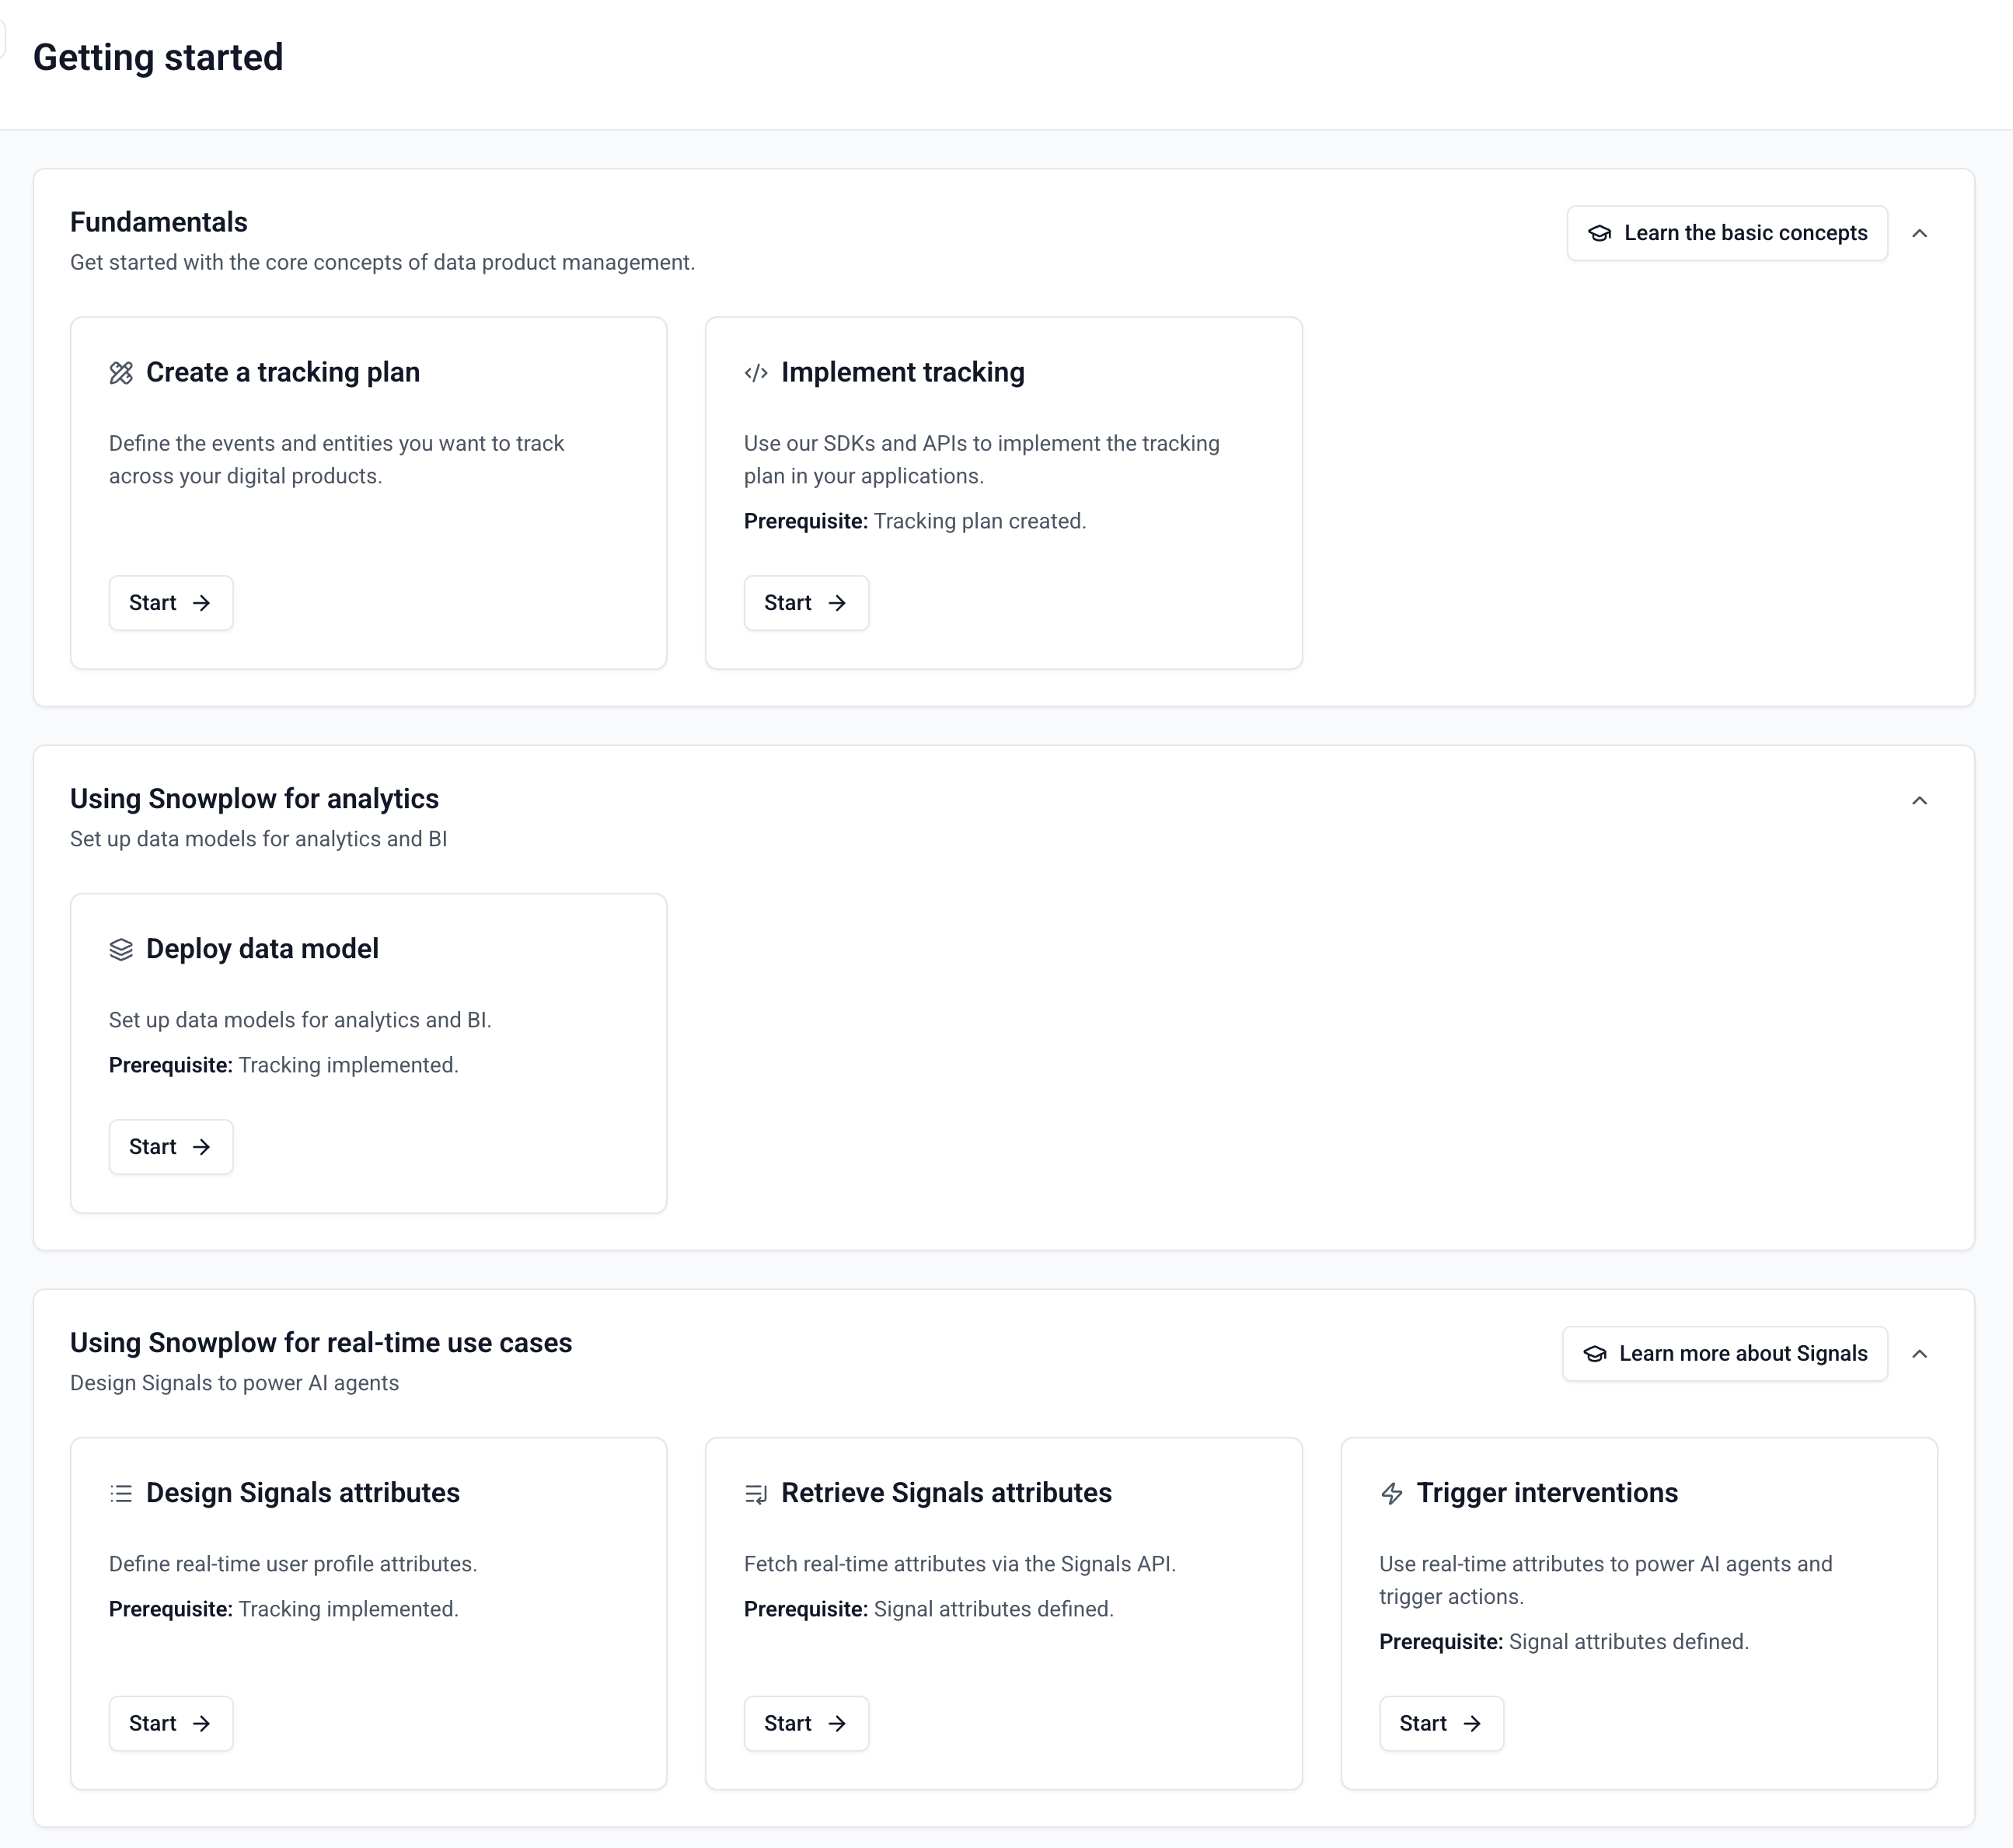
How the dashboard is organized
Each section contains workflow cards for a specific task, from designing a tracking plan to configuring Signals. The workflows follow a prerequisite chain: create a tracking plan, implement tracking, then unlock downstream features like data models and Signals.
The Getting Started dashboard is available to Snowplow CDI customers with Console access.
Design and implement tracking
The Fundamentals section covers the core data collection workflow.
Create a tracking plan
The first card guides you through creating a tracking plan, which defines the events and entities you want to collect.
- Choose between built-in events or custom tracking
- Create or select a source application
- Select tracking plan templates (Base Web, E-commerce Web, Media Web, and others)
- Review and confirm your selections
Console then creates the tracking plan and associated data structures in your account.
Implement tracking
With a tracking plan in place, the next card helps you implement tracking.
- Select your source application
- Configure tracker initialization with the generated code snippet
- Select your tracking plan and view event-specific code snippets
- Test with Snowplow Micro
- Deploy to production
Test your implementation with Snowplow Micro before deploying to production to verify that events are structured correctly and match your tracking plan.
Deploy a data model
Once data is flowing, you can deploy a data model to transform raw events into structured tables for analysis. Console offers two types of data models:
- Out-of-the-box data models for common use cases like web and mobile analytics
- Automatically generated data models tailored to your tracking plan
Configure Signals for real-time use cases
Signals processes your event stream to compute user attributes in real time and trigger automated actions.
Signals is a paid add-on. Contact your account team to enable it.
Design Signals attributes
Define Signals attributes that compute real-time properties about your users (for example, session count, cart value, or engagement score).
- Choose a template or create a custom attribute
- Create or edit an attribute group
- Test and simulate against real data
Retrieve Signals attributes
Create a service and follow the retrieval steps to access attribute values from your front-end or back-end.
Trigger interventions
Create interventions that automatically respond to user behavior — for example, displaying a promotion when a cart value exceeds a threshold or suppressing a campaign for users who have already converted.