Testing your enrichment
You can (and should!) test your enrichment with Snowplow Micro before adding it to your production pipeline.
Basic setup
If you haven’t worked with Micro before, take a look at the usage guide. Adding the JavaScript enrichment to Micro is similar to adding other enrichments.
.js files directlyOne trick up Micro’s sleeve is that while you can add the full enrichment configuration in a JSON file (with your JavaScript encoded in base64), you can also just drop a .js file in your enrichments folder. Micro will interpret it as JavaScript enrichment code. This way, you don’t need to keep converting your enrichment to base64 as you iterate on it. (Make sure to either use a .json or a .js file, but not both.)
For example, if your enrichment code is in script.js in the current directory, you can execute the following command to run it in Micro:
docker run -p 9090:9090 \
  --mount type=bind,source=$(pwd)/script.js,destination=/config/enrichments/script.js \
  snowplow/snowplow-micro:2.3.0
Next, point your tracking code to localhost:9090 (see the usage guide for more details). Now the events you send to Micro will go through your enrichment code.
Debugging
When debugging a JavaScript enrichment with Micro, there are a few sources of useful information: the UI (available since Micro 2.0.0), the logs and the REST API.
User Interface
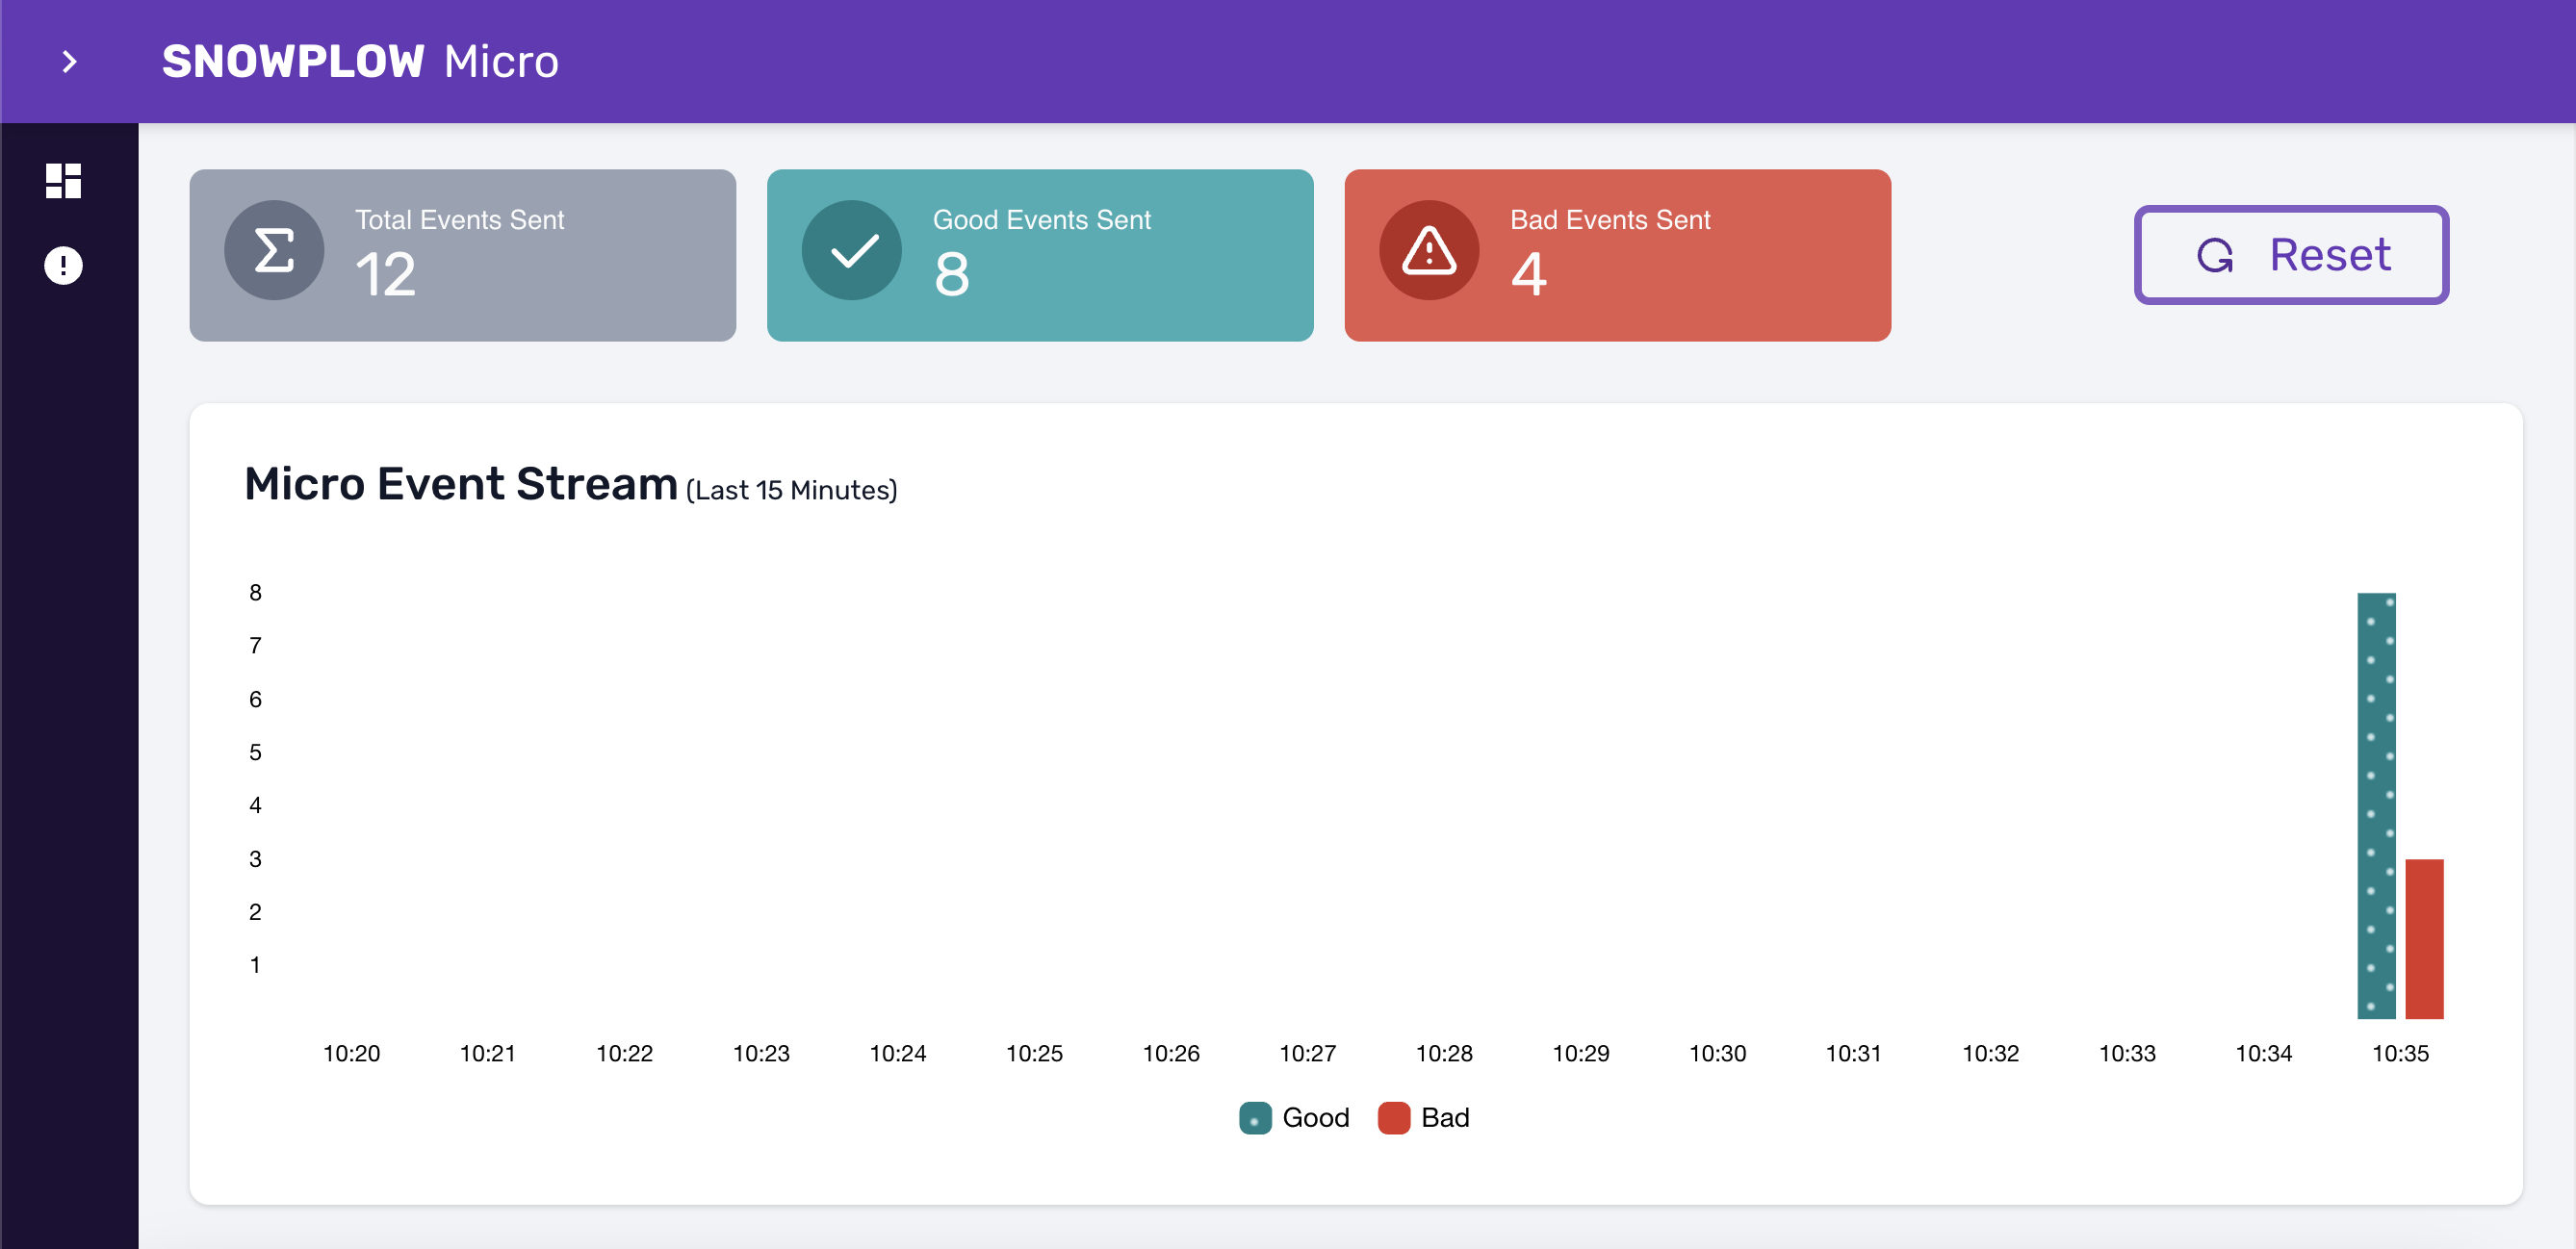
The overview will show you which events are enriched successfully and which fail:
For each failed event, you can also expand the details and look at the failure message:

Logs
The logs will quickly show you any failure. For example, if you forgot to add your schema:
[WARN] EventLog - BAD {
  "schemaKey" : "iglu:com.my-company/my-schema/jsonschema/1-0-0",
  "error" : {
    "error" : "ResolutionError",
    ...
Or if you made a typo in a function name:
[WARN] EventLog - BAD {
  "error" : "Error during execution of JavaScript function: [TypeError: event.getLongtitude is not a function in <eval> at line number 2]"
}
If you throw in your JavaScript code to discard the event, you will get a similar failure message in the logs, but it would be expected.
Tracing
You can also add temporary print statements to your code to inspect certain values.
Make sure to remove all debug printing when adding the enrichment to a production pipeline.
Here’s an example:
print(`--- URL is: ${event.getPage_url()}`);
This will be printed directly to the output from Micro (in the terminal — currently this information is not available in the Micro UI).
console.logNote that console.log and console.dir familiar to JavaScript developers will not work in this context.
If you want to pretty-print an object or array, the best approach is to use JSON.stringify:
const myEvent = JSON.parse(event.getUnstruct_event());
print(JSON.stringify(myEvent.data, null, 2));
REST API
Using Micro’s REST API, you can verify that your code modifies event fields or adds entities as expected. The most useful endpoint is /micro/good, which will return all successfully processed events:
curl localhost:9090/micro/good
For example, if your code adds some entities, you will find them in the output from the REST API, under derived_contexts field for each event:
...
"derived_contexts": {
  "schema": "iglu:com.snowplowanalytics.snowplow/contexts/jsonschema/1-0-0",
  "data": [
    {
      "schema": "...",
      "data": { ... }
    },
    ...
  ]
}
...
Iterating on code and schemas
If your enrichment adds extra entities to the event, you might be iterating on the schemas for those entities at the same time you are iterating on your enrichment code.
You can simplify your development and testing flow by adding schemas to Micro as local files. For example, your current directory might look like this:
script.js
schemas
└── com.my-company
    └── my-schema
        └── jsonschema
            └── 1-0-0
This command will add both the script and the schema to Micro:
docker run -p 9090:9090 \
  --mount type=bind,source=$(pwd)/schemas,destination=/config/iglu-client-embedded/schemas \
  --mount type=bind,source=$(pwd)/script.js,destination=/config/enrichments/script.js \
  snowplow/snowplow-micro:2.3.0
Testing with more complete events
Here are a few more tips on getting the most out of Micro when testing your JavaScript enrichment.
Enriched fields
If your enrichment uses fields filled by other enrichments, you will want to enable those as well.
IP addresses
If your enrichment relies on the user_ipaddress field or the geo_* fields, with the default setup you will discover that user_ipaddress is your local one (e.g. something like 192.168.0.42). Subsequently, the geo_* fields are all null. That’s because you have both Micro and your tracking code running locally on the same machine.
If you are using a web browser to test your site or app, you can spoof a specific IP address using a browser plugin that sets an X-Forwarded-For header. For example, here are plugins for Chrome and Firefox. Install the plugin and set the IP address to your liking.
Alternatively, check out the section on exposing Micro via a public domain name — with this approach you can get a public URL for your Micro, to which you can point your tracking code. Now the interaction between your tracking and your Micro will go through the internet, and you will get a realistic IP address in your events.
Cookies
If your enrichment relies on cookies, you may find it difficult to reproduce all the cookies set by your website or app in a local setup.
For a solution, check out the section on locally resolving an existing domain name to Micro. With this approach you can hook into an existing website or app, receiving all cookies in your Micro.
If the values of cookie-based fields (e.g. network_userid) are not what you expect, make sure you configure Micro to use the same cookie name as your website or app (the default is micro). For example, to set it to sp:
docker run ... \
  snowplow/snowplow-micro:2.3.0 \
  -Dcollector.cookie.name=sp