Set up Signals
Before you can define attributes or interventions, you'll need to enable Signals for your organization. This is a one-time task, done in Snowplow Console.
If you don't have a Snowplow account yet, sign up for a Snowplow free trial to experience Signals in Console.
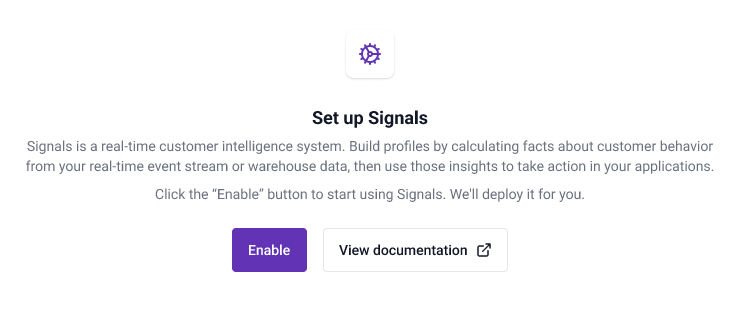
Enable Signals
Log in to Console and navigate to the Signals section. Click Enable to start setting up Signals.
Signals can also be deployed without connecting to a warehouse. Only Snowflake and BigQuery are supported currently.
You'll need to:
- Select which warehouse to use
- Specify your warehouse account details
- Specify your Snowplow atomic events table
- Run the provided script
Click Test and create connection to trigger the Signals deployment. You'll be able to start using Signals as soon as the infrastructure is ready.
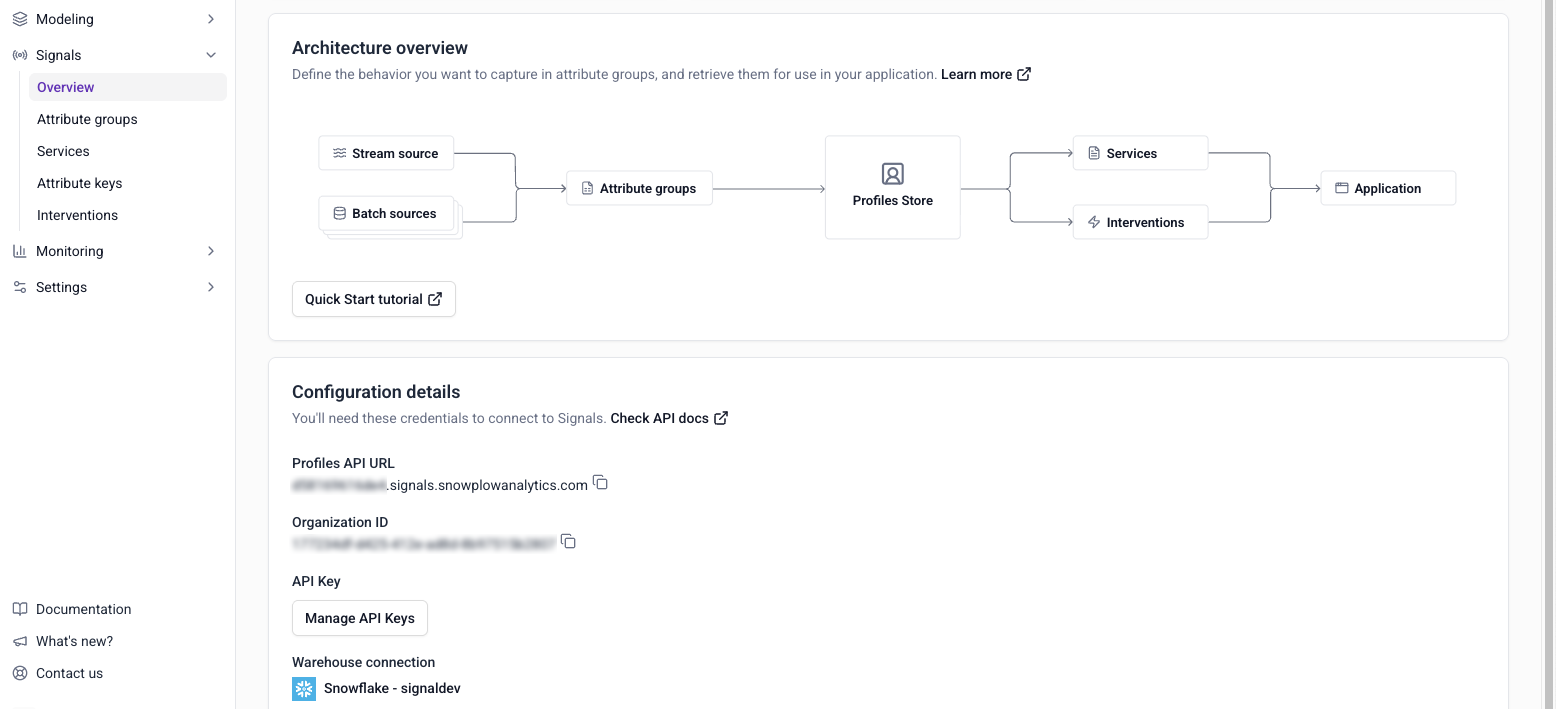
Next steps
Once the infrastructure is ready, navigate to the Signals section to manage Signals in the UI. Use the configuration interface to define attribute groups, services, and interventions.
To work with Signals programmatically, using the SDKs or API instead of (or alongside) Console, see Connect to Signals.