Setup your tracking
There are a number of options to implement Snowplow tracking in your website or single page application.
Select the required pathway to implement tracking on your project.
Step 1: Download sp.js
Add the sp.js file to your project directory. The latest version can be found here.
Step 2: Add JS snippet
Add the below snippet to all of the pages you would like to track. Make sure to update the {{Link to the sp.js file}} variable.
Place the <script> tag into the <head> element of your page.
<script type="text/javascript" async=1 >
;(function (p, l, o, w, i, n, g) { if (!p[i]) { p.GlobalSnowplowNamespace = p.GlobalSnowplowNamespace || []; p.GlobalSnowplowNamespace.push(i); p[i] = function () { (p[i].q = p[i].q || []).push(arguments) }; p[i].q = p[i].q || []; n = l.createElement(o); g = l.getElementsByTagName(o)[0]; n.async = 1; n.src = w; g.parentNode.insertBefore(n, g) } }(window, document, "script", "{{Link to sp.js file}}", "snowplow"));
</script>
Step 3: Configure the Tracker
Call newTracker in the <script> tag, with the following arguments. This creates an instance of a basic tracker without any additional context.
- Tracker Name:
'sp' - Collector Url:
'{{Url for Collector}}'
window.snowplow('newTracker', 'sp', '{{Url for Collector}}')
In addition to the basic tracker, add the below optional arguments to the tracker to make use of some of Snowplow’s more advanced features.
appId: Identify events that occur on different applicationsplatform: Identify the platform the event occurred on, in this casewebcookieSameSite: Protects cookies from being accessed by third party domains
window.snowplow('newTracker', 'sp', '{{Url for Collector}}', {
    appId: 'appId',
    platform: 'web',
    cookieSameSite: 'Lax',
});
❗❗NOTE: react-router-dom is required to implement tracking in a react app
Step 1: Install browser-tracker package
Install the @snowplow/browser-tracker via npm by running:
npm install @snowplow/browser-tracker
Step 2: Import the tracker package
In your src folder, create a file called tracker.js.
Import the browser tracker into tracker.js with the below snippet:
import React from 'react';
import { newTracker, trackPageView, enableActivityTracking } from "@snowplow/browser-tracker";
Step 3: Configure the tracker
Create the tracker in tracker.js with the with the following arguments. This creates an instance of a basic tracker without any additional context.
- Tracker Name:
'sp' - Collector Url:
'{{Url for Collector}}'
let tracker = newTracker('sp', '{{Url for Collector}}')
In addition to the basic tracker, add the below optional arguments to the tracker to make use of some of Snowplow’s more advanced features.
appId: Identify events that occur on different applicationsplatform: Identify the platform the event occurred on, in this casewebcookieSameSite: Protects cookies from being accessed by third party domains
let tracker = newTracker('sp', '{{Url for Collector}}', {
    appId: 'appId',
    platform: 'web',
    cookieSameSite: 'Lax',
});
Step 1: Install browser-tracker package
Install the @snowplow/browser-tracker via npm by running:
npm install @snowplow/browser-tracker
Step 2: Generate Snowplow service
Run ng generate service snowplow to create snowplow.service.ts and snowplow.service.spec.ts within src/app.
Import the browser tracker to snowplow.service.ts by adding the snippet below.
import { newTracker, trackPageView, enableActivityTracking, BrowserTracker } from "@snowplow/browser-tracker";
Step 3: Configure the tracker
Create the tracker with the with the following arguments. This creates an instance of a basic tracker without any additional context.
- Tracker Name:
'sp' - Collector Url:
'{{Url for Collector}}'
Add the below snippet to snowplow.service.ts
export class SnowplowService {
  tracker: BrowserTracker = newTracker('sp', '{{Url for Collector}}')
}
In addition to the basic tracker, add the below optional arguments to the tracker to make use of some of Snowplow’s more advanced features.
appId: Identify events that occur on different applicationsplatform: Identify the platform the event occurred on, in this casewebcookieSameSite: Protects cookies from being accessed by third party domains
export class SnowplowService {
  tracker: BrowserTracker = newTracker('sp',  '{{Url for Collector}}', {
    appId: 'appId',
    platform: 'web',
    cookieSameSite: 'Lax',
  })
}
❗❗NOTE: A Google Tag Manager Account is required for this pathway
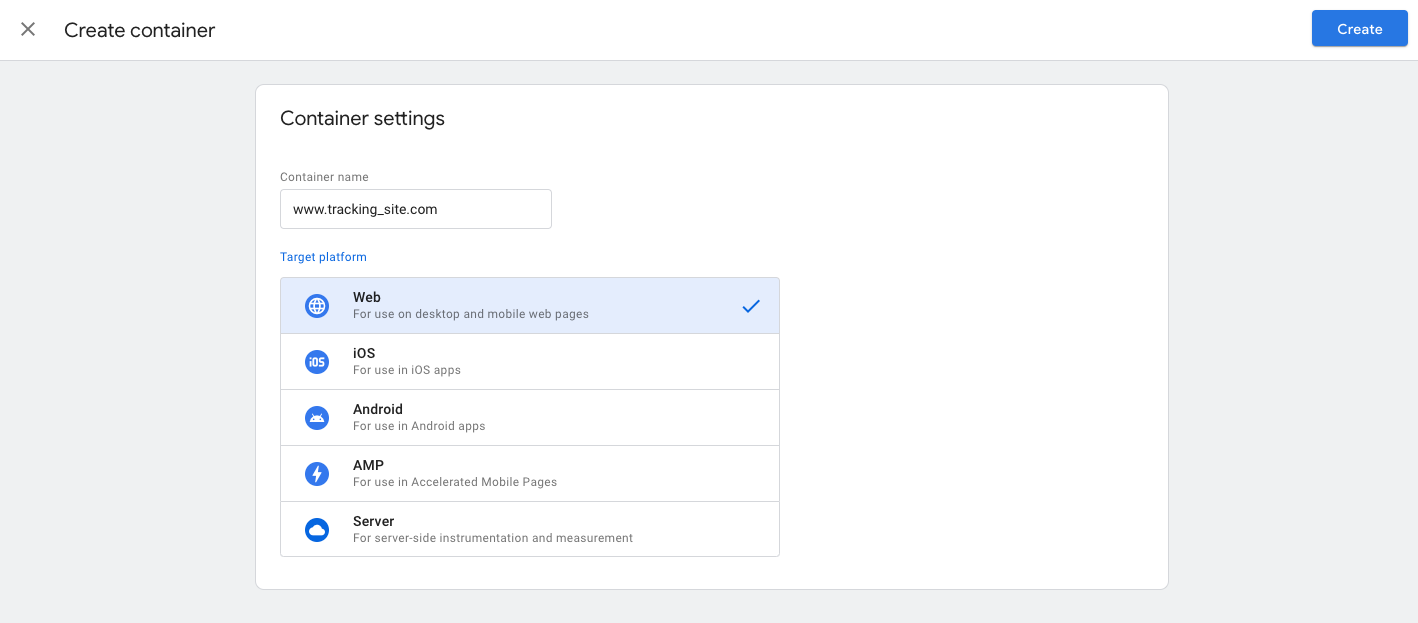
Step 1: Create container
Create a web container for your site.
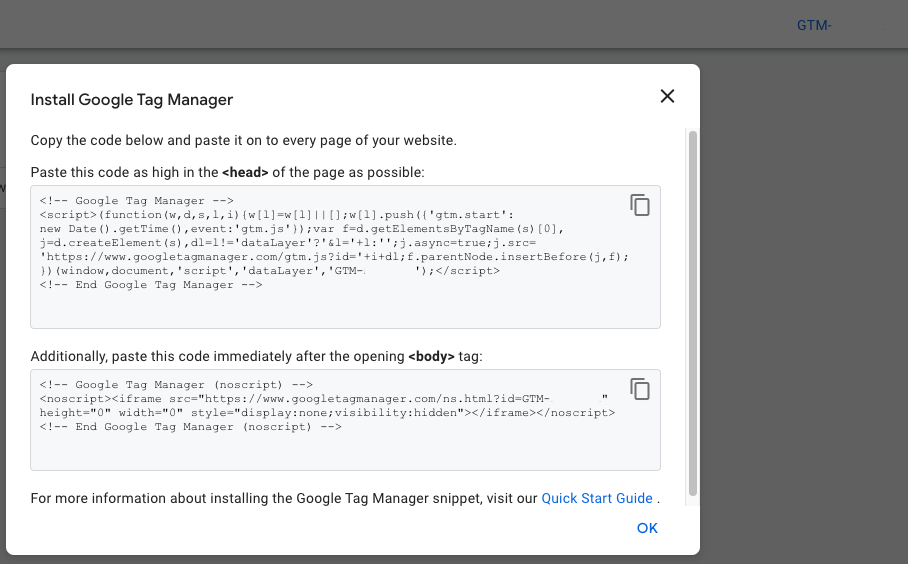
Step 2: Add Tags to site
Install Google Tag Manager on your site by following the installation guide in the Install Tag Manager Box.
Tip: Near the top of the window, find your container ID, formatted as “GTM-XXXXXX”. Click your container ID to launch the Install Tag Manager box.
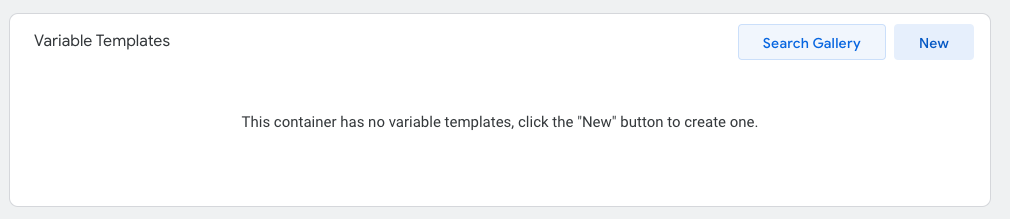
Step 3: Add New Template Variable
Go to Templates and click Search Gallery under Variable Templates.
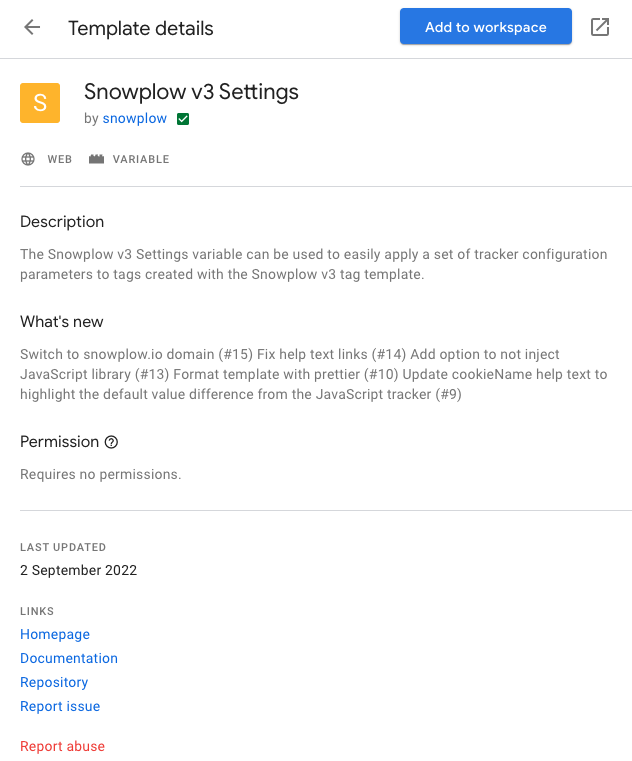
Search Snowplow V3 Settings in the search bar.
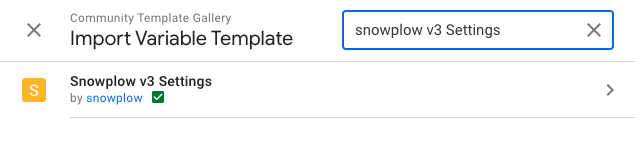
Add the template to your workspace.
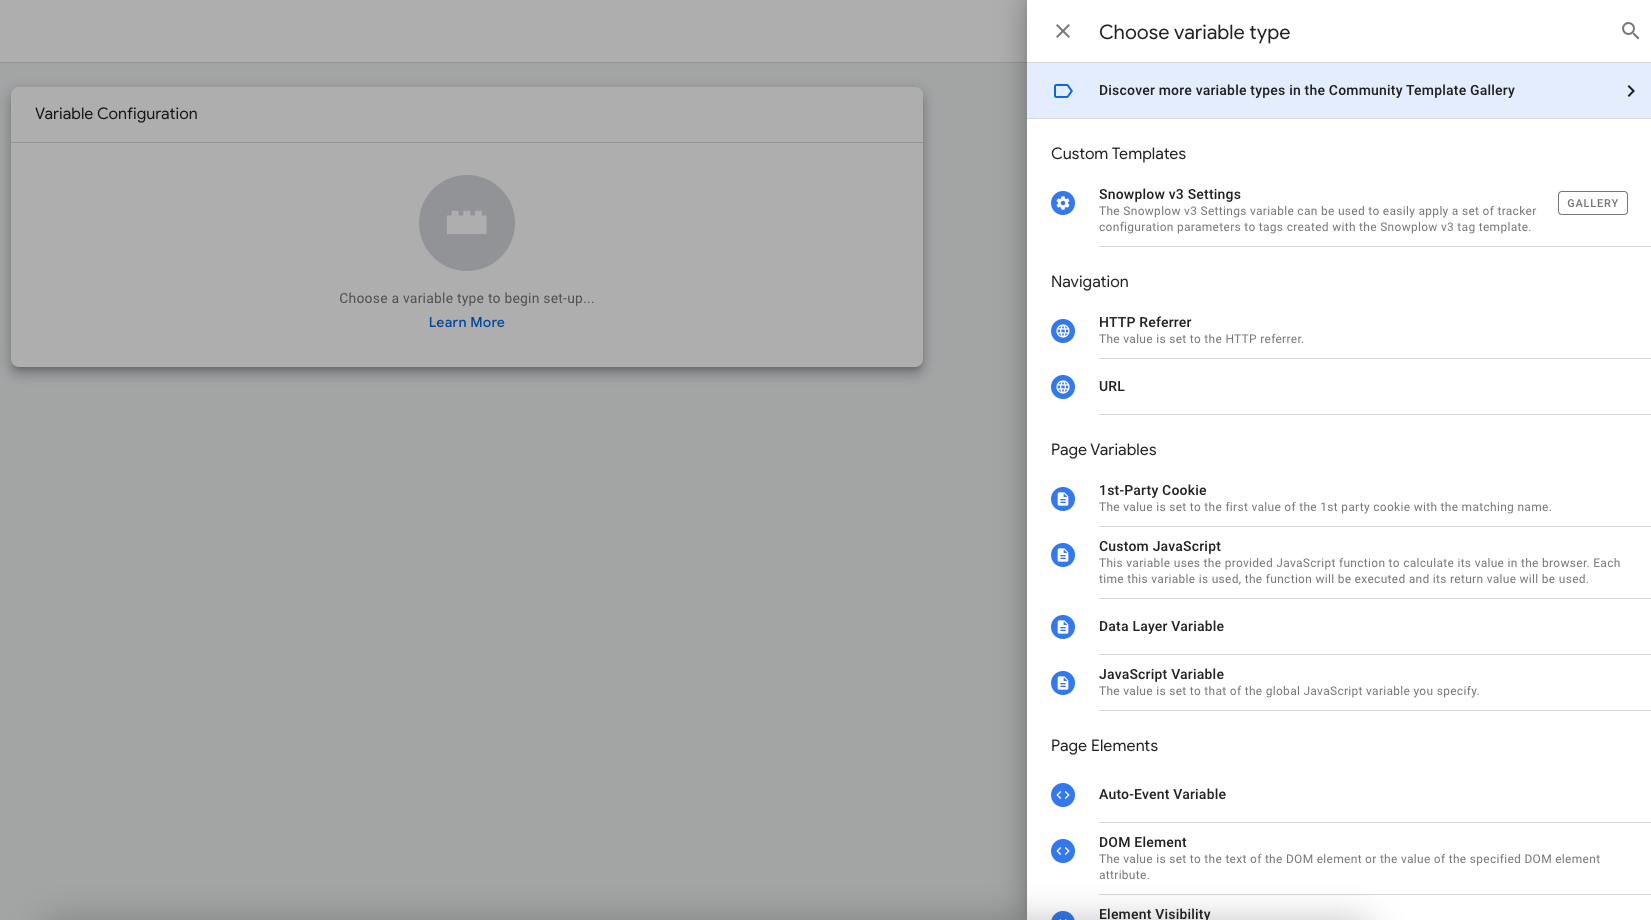
Navigate to Variables, click new and select Snowplow v3 Settings.
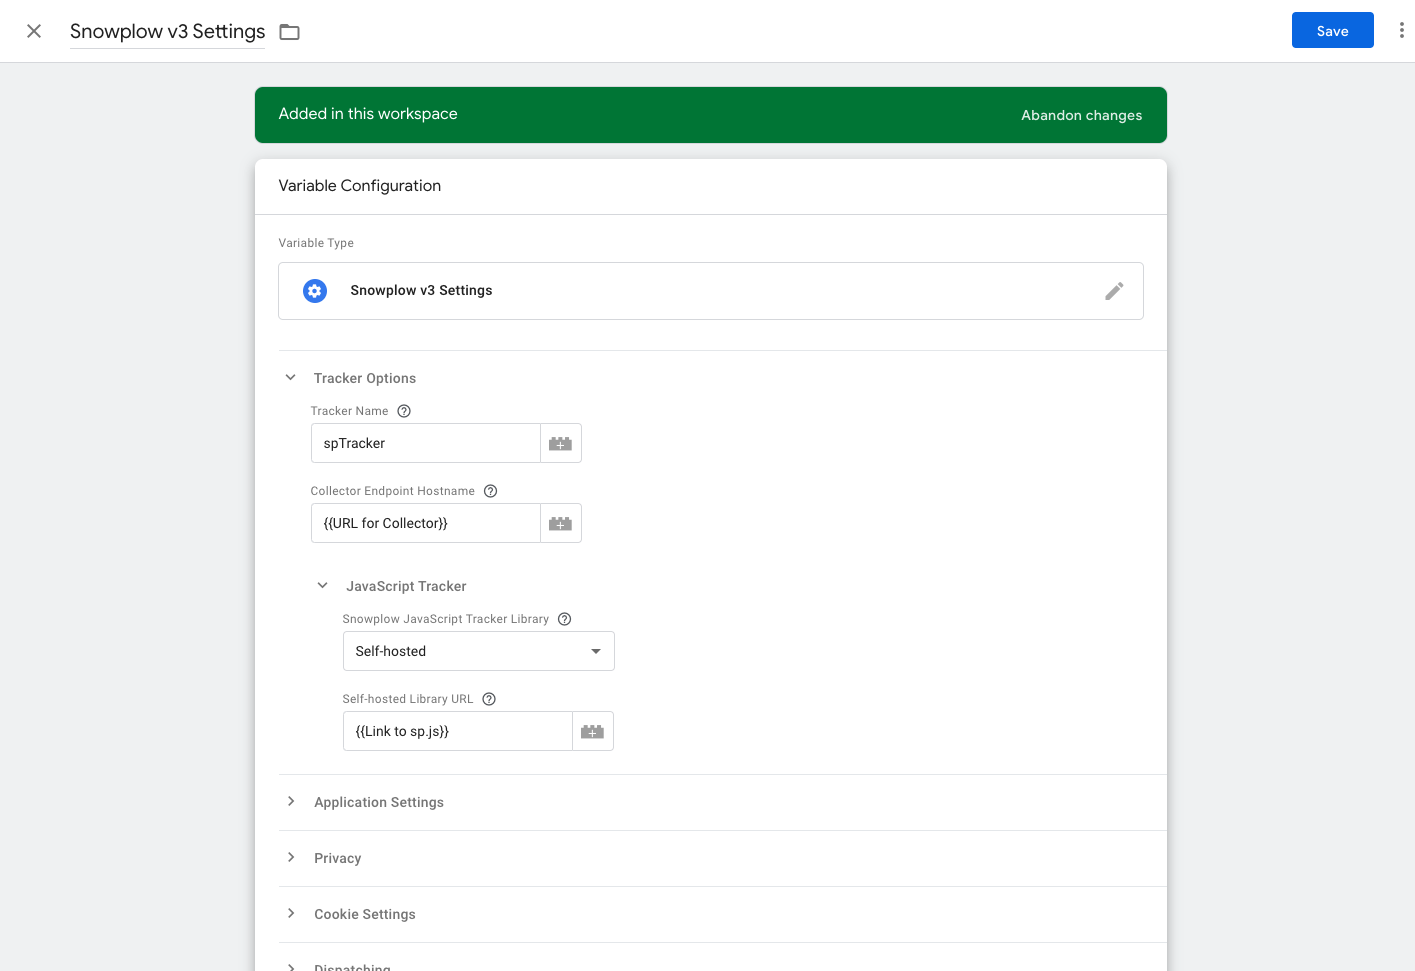
Add your collector endpoint and link to your sp.js file.
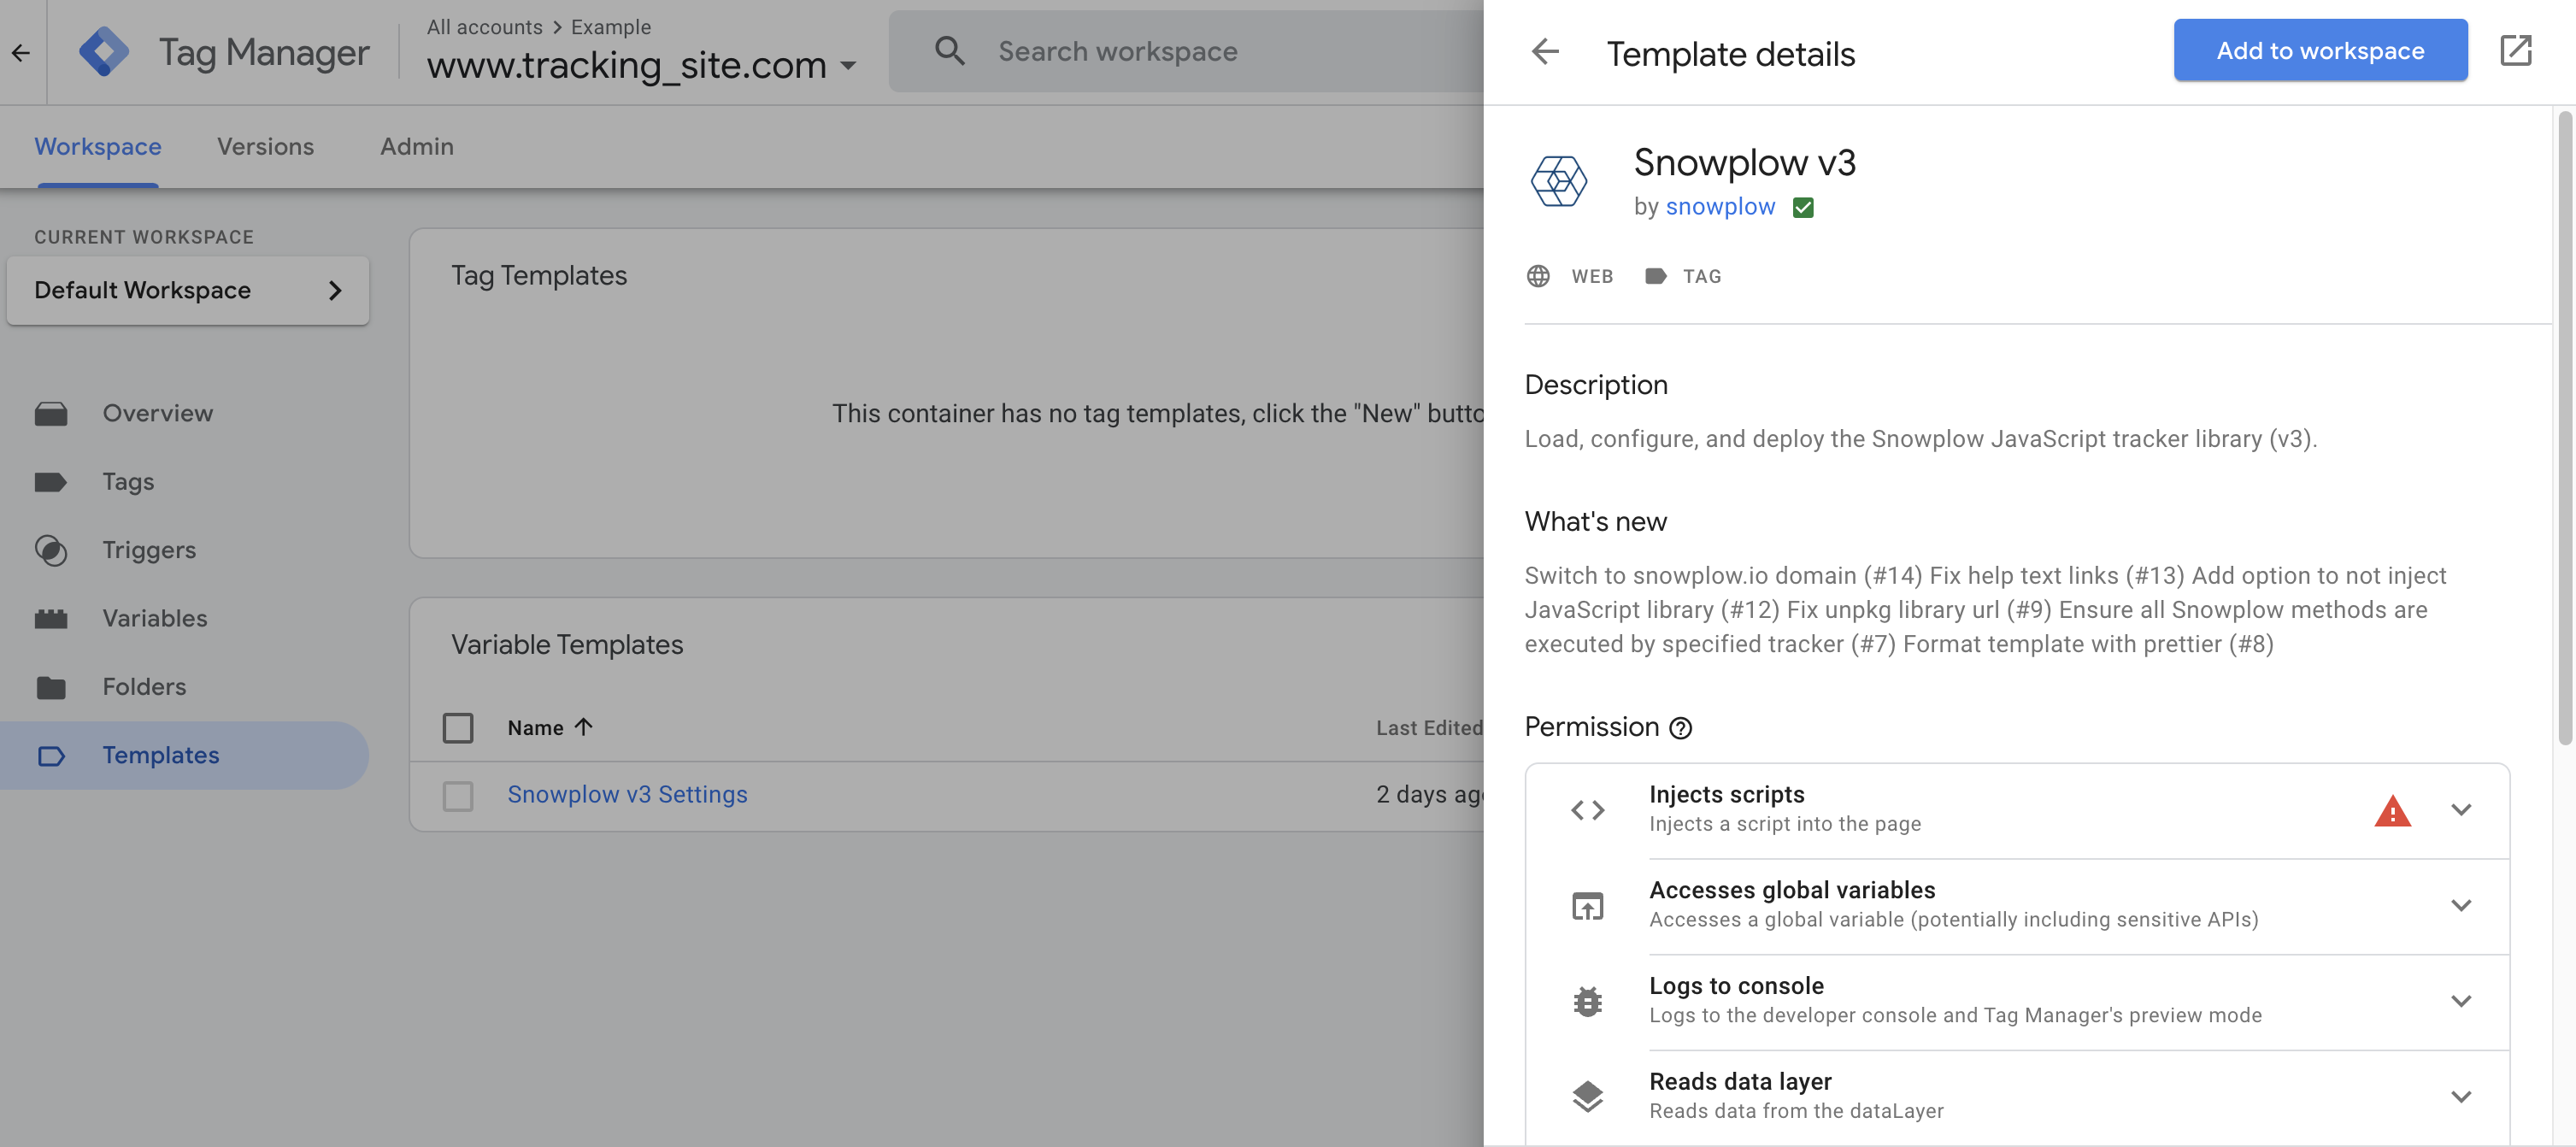
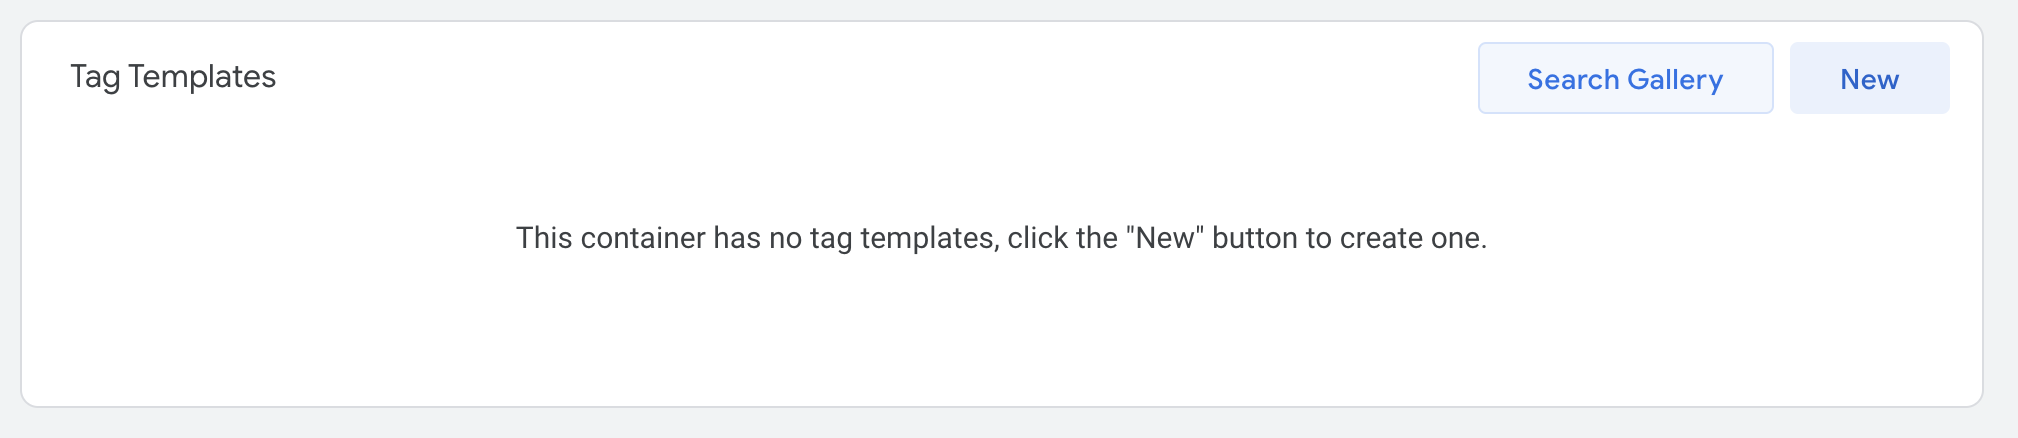
Step 4: Add New Tag Template
Go to Templates and click Search Gallery under Tag Templates.
Search Snowplow V3 in the search bar.
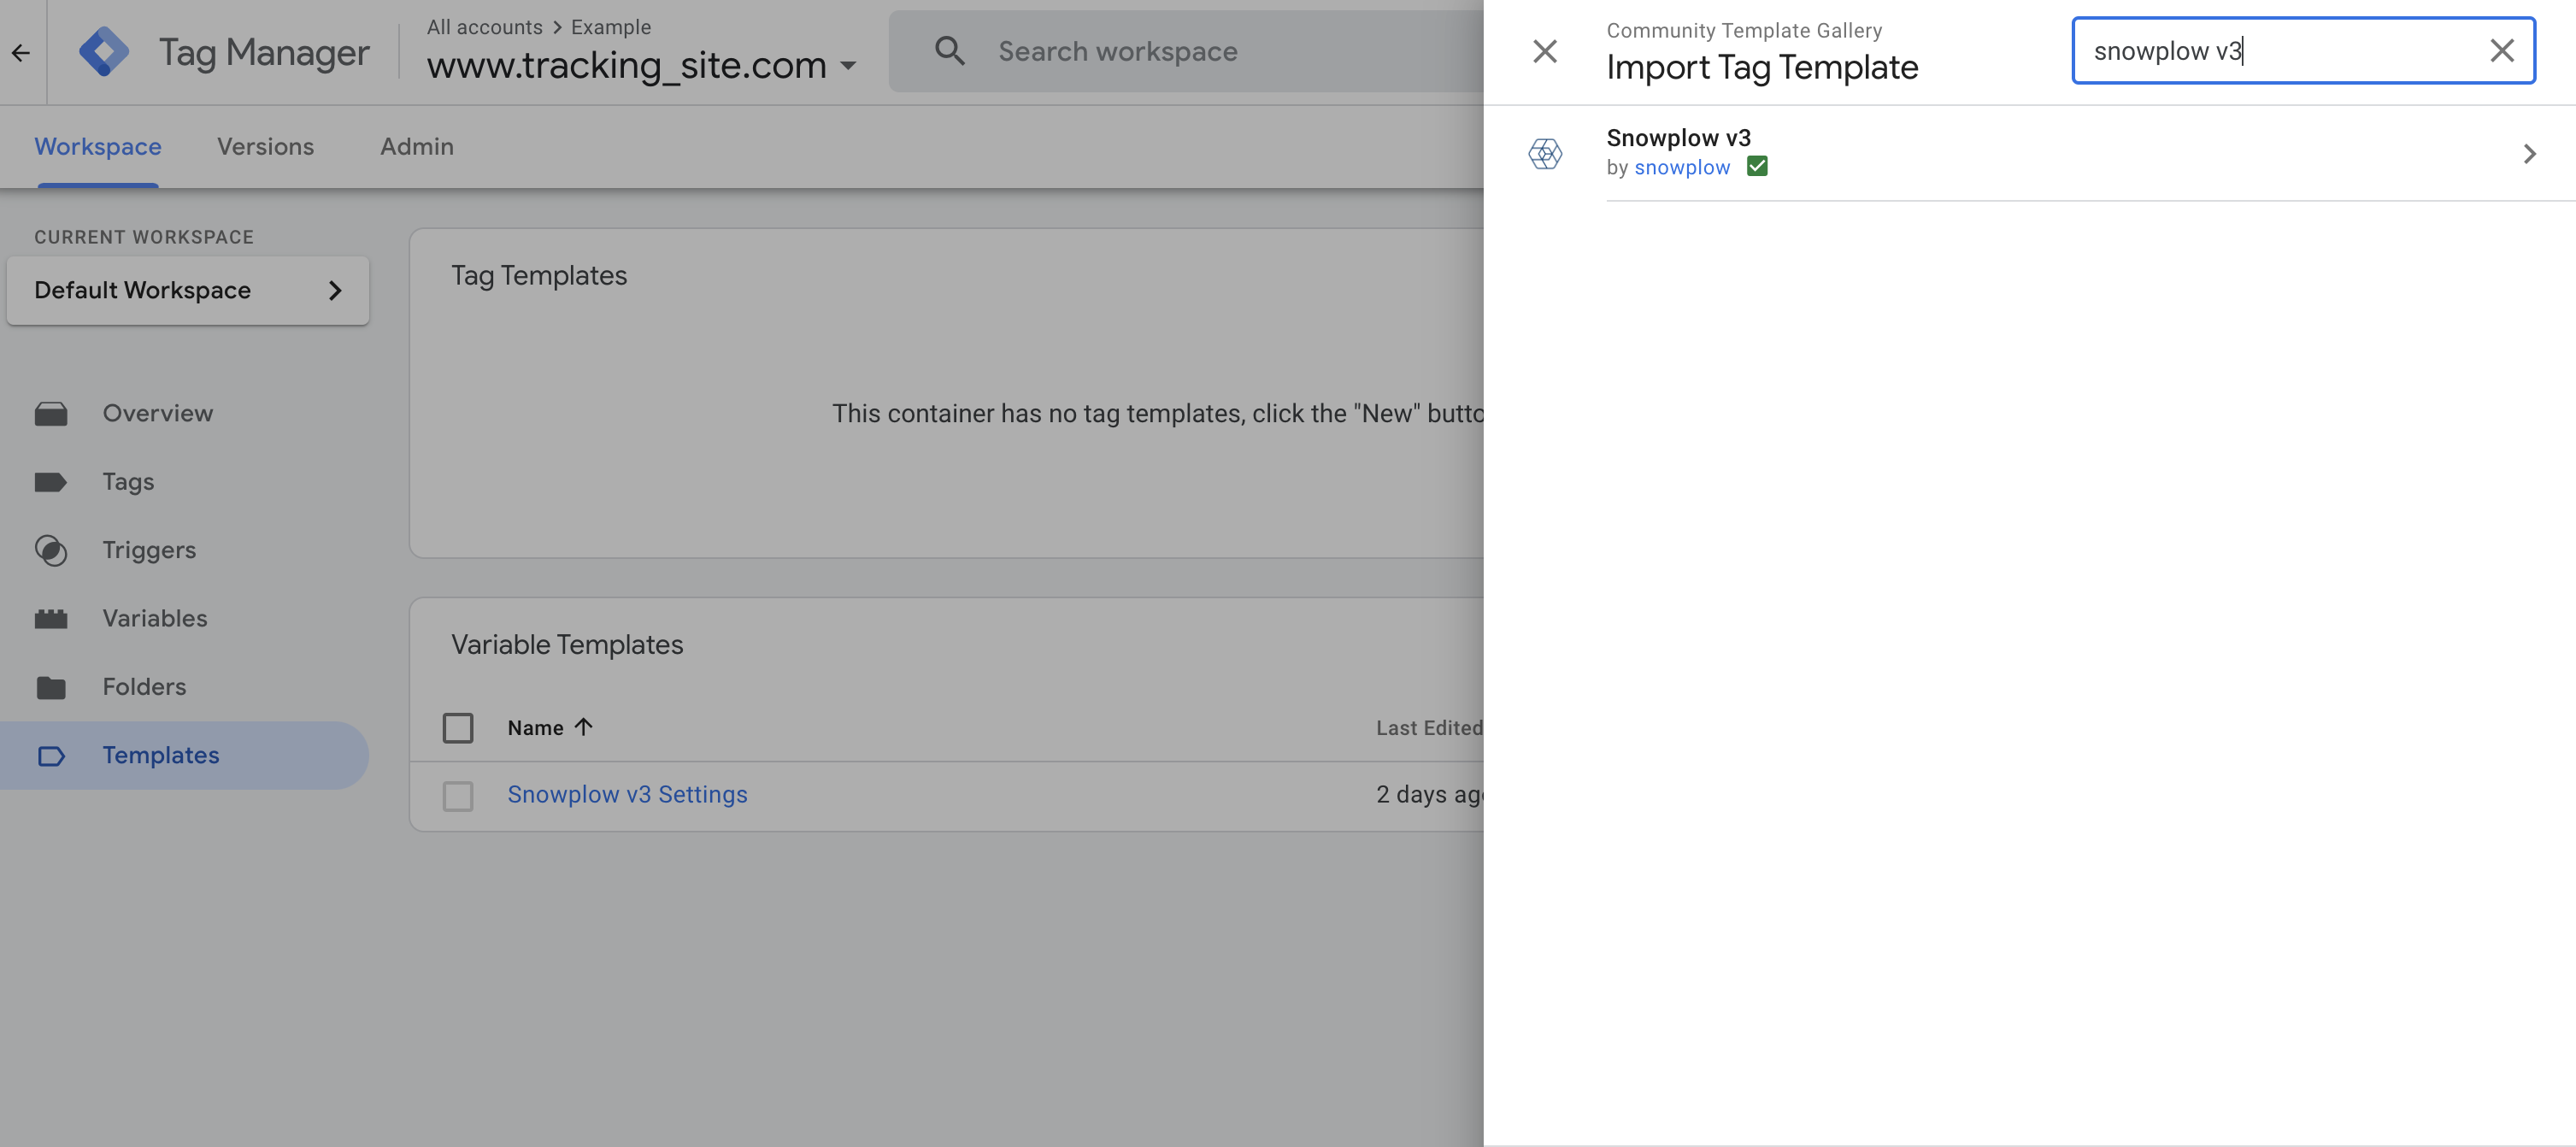
Add the template to your workspace.