Model your pipeline data
At this stage you should:
- Have tracking and enrichment set-up
- Have this data in the
ATOMIC.EVENTStable - Have enabled the campaign attribution enrichment
- Have a working dbt project with the snowplow-web and snowplow-fractribution model configurations for the sample data
Step 1: Complete refresh of your Snowplow web package (Optional)
If you would like to use your current dbt environment that you set-up during modeling the sample data you might want to start from scratch.
While you can drop and recompute the incremental tables within this package using the standard --full-refresh flag, all manifest tables are protected from being dropped in production. Without dropping the manifest during a full refresh, the selected derived incremental tables would be dropped but the processing of events would resume from where the package left off (as captured by the snowplow_web_incremental_manifest table) rather than your snowplow__start_date.
In order to drop all the manifest tables and start again set the snowplow__allow_refresh variable to true at run time:
dbt run --select snowplow_web tag:snowplow_web_incremental --full-refresh --vars 'snowplow__allow_refresh: true'
# or using selector flag
dbt run --selector snowplow_web --full-refresh --vars 'snowplow__allow_refresh: true'
Step 2: Modify variables
Assuming that you followed the guide on how to run the data model on the sample data, here we will only highlight the differences in the set-up:
Remove the
snowplow__eventsvariable. This time the base table will be the defaultatomic.events, therefore no need to overwrite it.Change the
snowplow__start_datevariable according to the data you have in your events table.
Step 3: Run the snowplow_web model
Execute the following either through your CLI or from within dbt Cloud
dbt run --selector snowplow_web
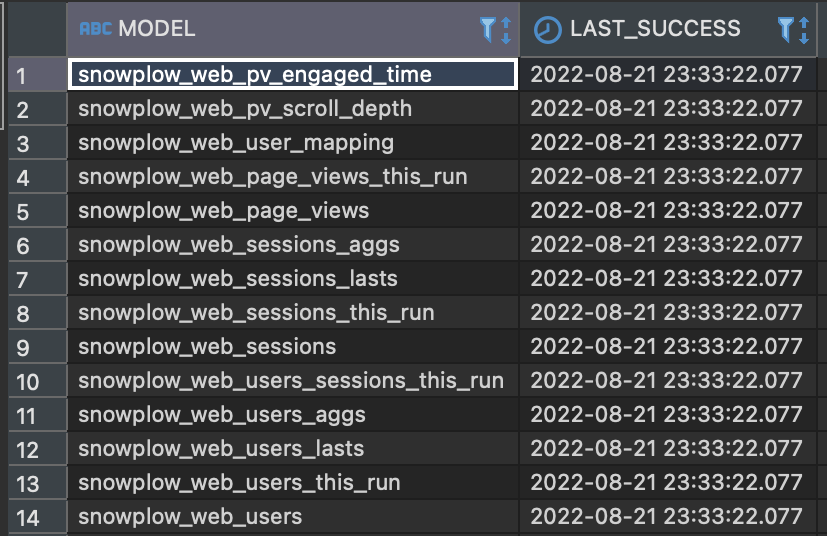
Depending on the period of data available since the snowplow__start_date and the snowplow__backfill_limit_days variable you might not process all your data during your first run. Each time the model runs it should display the period it processes and the timestamp of the last event processed for each model within the package. This gets saved in the snowplow__incremental_manifest table so you can always check the data processing state (see below).
Step 4: Run dbt test
Run our recommended selector specified tests to identify potential issues with the data:
dbt test --selector snowplow_web_lean_tests
Step 5: Attribution Modeling
Now you can run the attribution modeling script on your own data that has been modeled by the snowplow_web package. If you need to, you can update the conversion start and end dates, and any other variables that may have changed (see Modeling: Set-up and run dbt package and Modeling: Create Attribution report table for a refresher on these variables).
For the example, channel spend has been set at 10000 per channel. To modify this to use your own data, you will need to copy the channel_spend.sql macro from [dbt_project_name]/dbt_packages/snowplow_fractribution/macros/channel_spend.sql and add it to your own dbt project’s macros folder. Update the sql in this macro to join the channel names to your ad spend per channel for the given window, e.g. (a simplified example):
WITH channels AS (
    SELECT ARRAY_AGG(DISTINCT channel) AS c FROM {{ ref('snowplow_fractribution_channel_counts') }}
),
ad_spend AS (
    SELECT
        channel,
        SUM(spend) AS spend
    FROM ad_spend_table
    GROUP BY channel
)
SELECT
CAST(channel.value AS STRING) AS channel,
a.spend
FROM
channels c,
LATERAL FLATTEN(c) channel
LEFT JOIN ad_spend a on c.channel=a.channel
When this has been updated, run the snowplow_fractribution package again, with the --full-refresh flag:
dbt run --select package:snowplow_fractribution --full-refresh
The output table for channel spend should look similar to the following example (with your own spend values (and channels, if those were updated in the channel_classification macro)):
| channel | spend |
|---|---|
| Direct | 100 |
| Organic_Search | 100 |
| Paid_Search_Other | 3946 |
| Display_Other | 2060 |
| Referral | 1010 |
| Unmatched_Channel | 1490 |
| Video | 999 |
Then run the script (or Docker container) again:
docker run --rm --env-file /path/to/env/file/configs.env -it snowplow/snowplow_fractribution:latest
python main_snowplow_{your_warehouse}.py --conversion_window_start_date '2022-06-03' --conversion_window_end_date '2022-08-01' --attribution_model shapley
Congratulations! You’ve finished the Attribution Modeling accelerator, and hopefully have a better understanding of how you can perform attribution analysis on your Snowplow data.