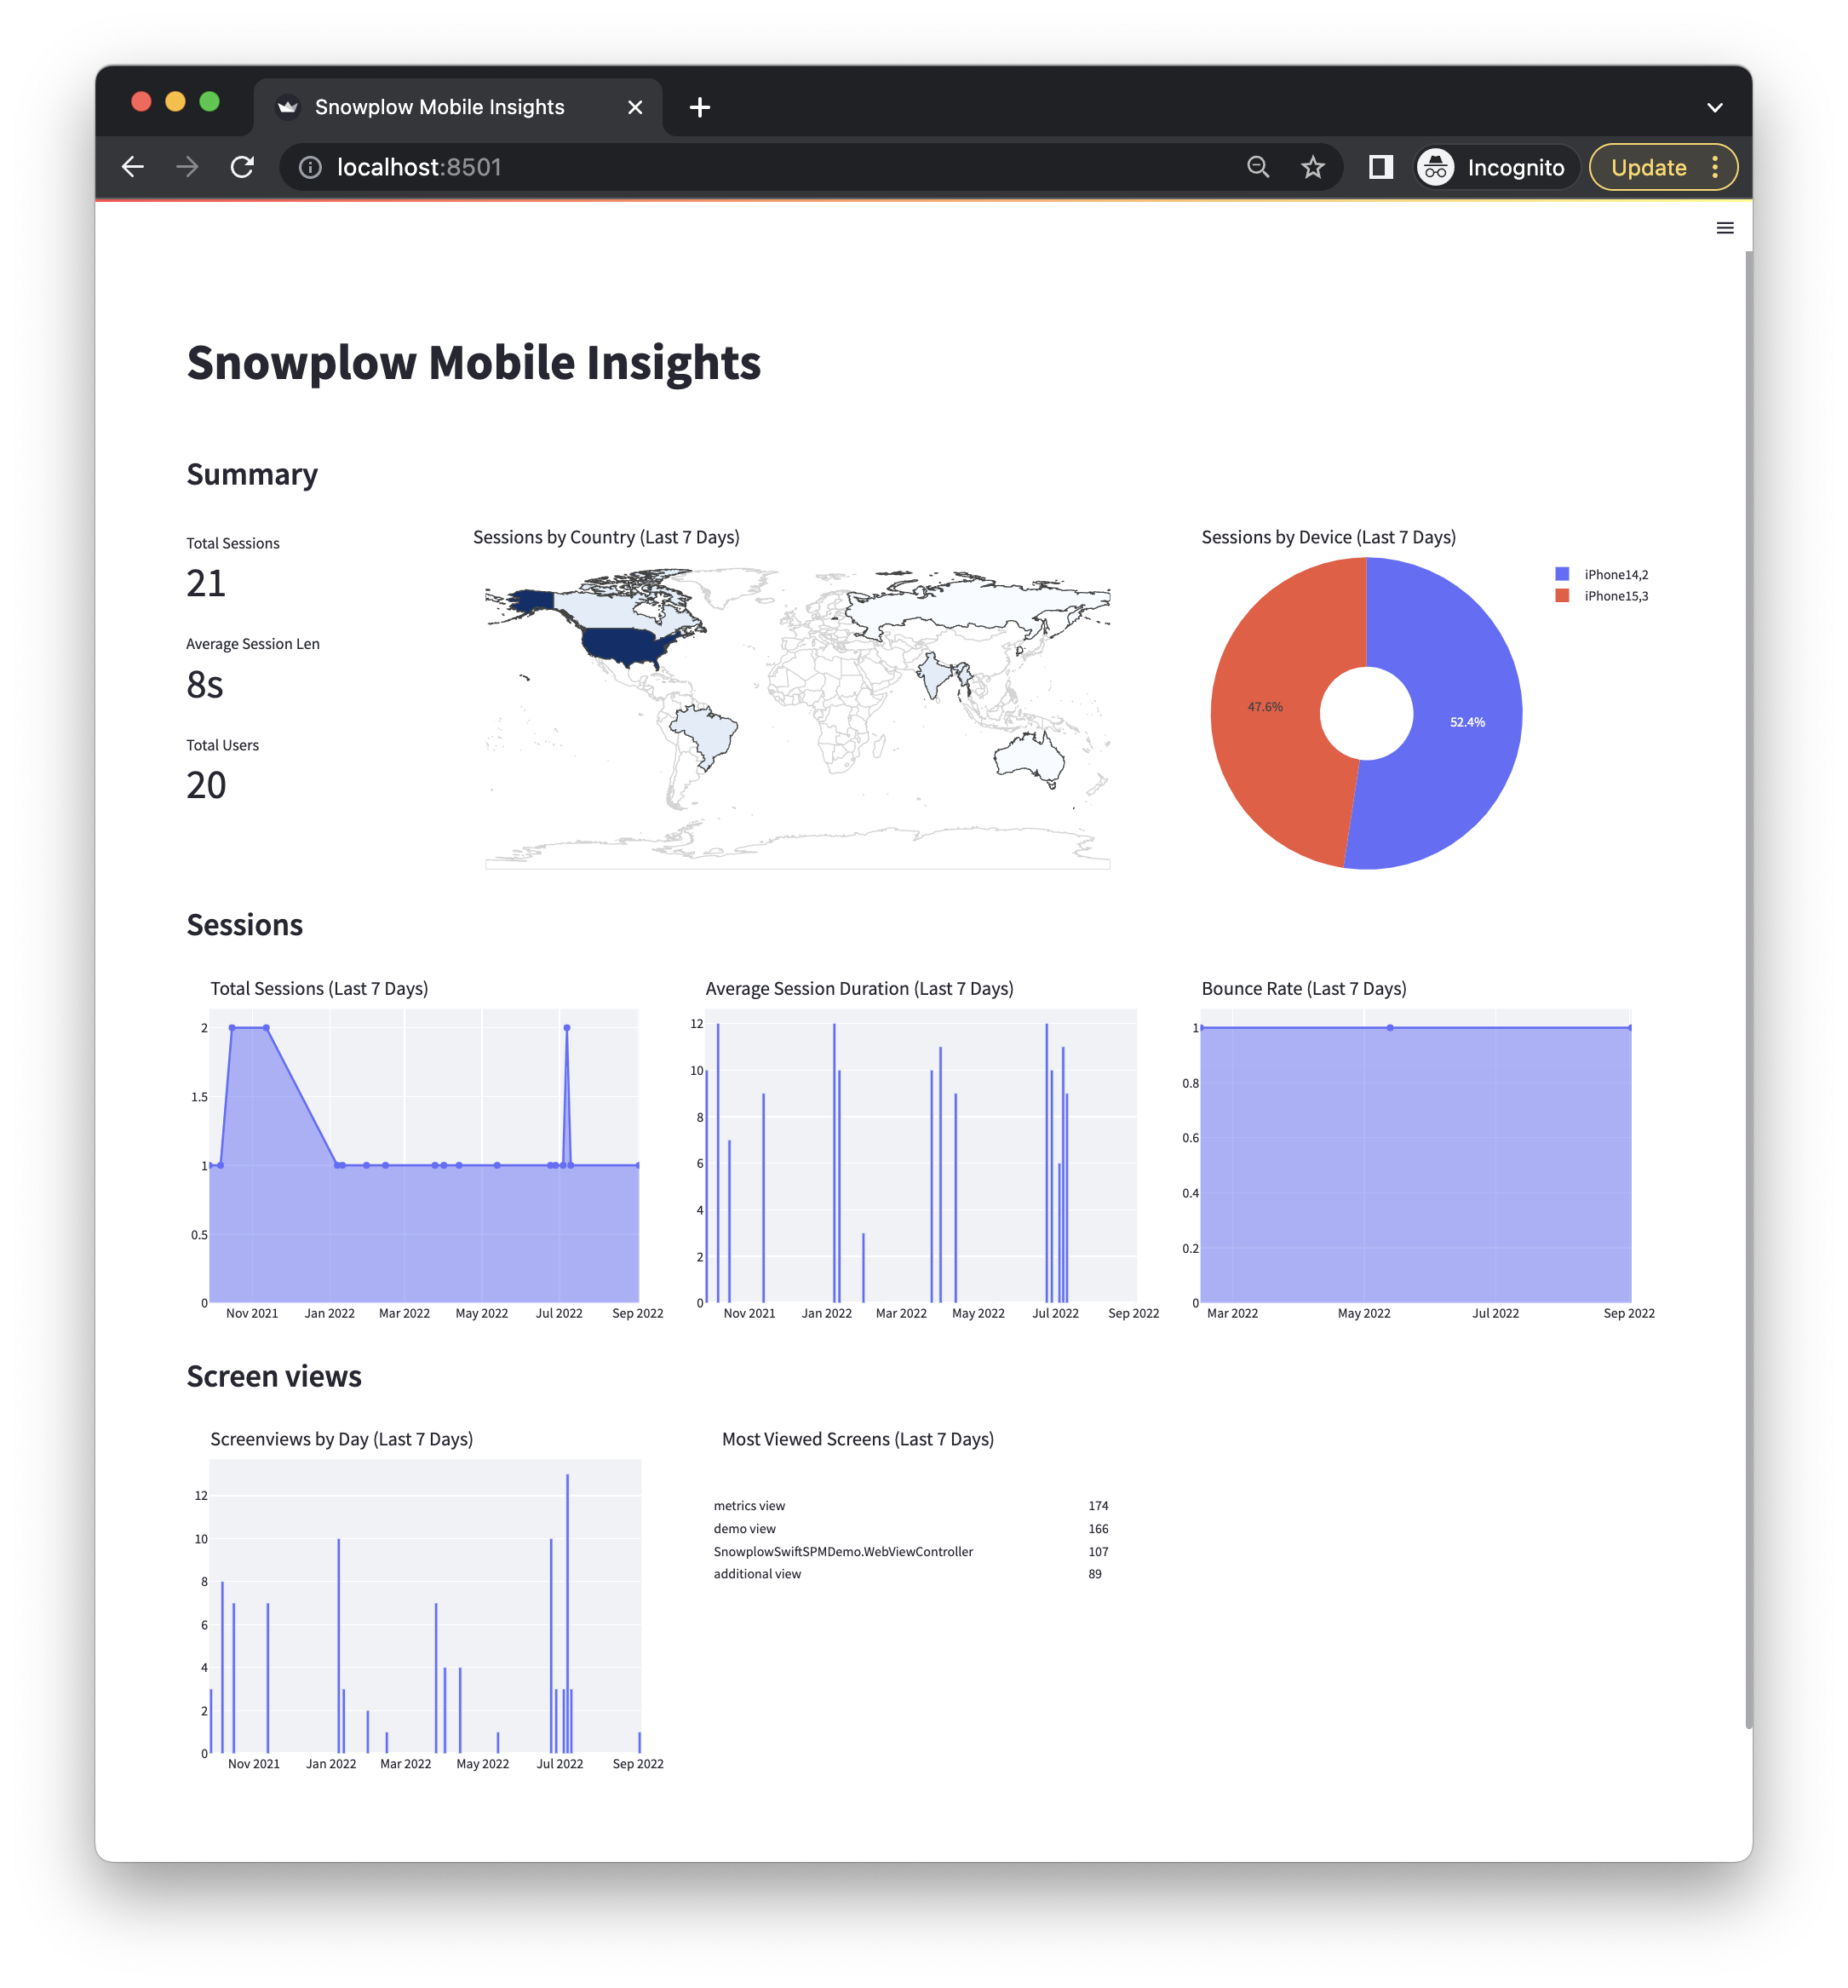
Streamlit
Streamlit uses Python to build shareable dashboards without the need for front-end development experience.
Step 1: Clone the repository
Run the command below to download the example dashboard:
git clone --depth 1  --filter=blob:none --sparse https://github.com/snowplow-incubator/snowplow-accelerator-resources.git ;
cd snowplow-accelerator-resources
git sparse-checkout set advanced-analytics-mobile-accelerator/streamlit
Next, move into the streamlit repository
cd advanced-analytics-mobile-accelerator/streamlit
Step 2: Install requirements
Run the command below to install the project requirements and run the virtual environment.
❗❗ This implementation has been tested with the following dependencies: python = 3.9.13, streamlit = 1.18.1, pandas = 1.5.3, pandas-gbq = 0.19.1, plotly = 5.13.0, snowflake-connector-python = 3.0.0, pyarrow = 10.0.1 . If you run into package compatibility issues or encounter any errors try using them to build your own environment.
pipenv install
pipenv shell
Step 3: Set-up Database Connection
Create a secrets file at .streamlit/secrets.toml and add your BigQuery/Databricks/Snowflake connection details.
For BigQuery: make sure you specify your custom derived dataset which will be the source schema for the dashboard.
Ensure secrets.toml is in .gitignore to keep your information safe.
For BigQuery, we recommend setting up your credentials in a similar way to your dbt profiles.yml, as seen here
# .streamlit/secrets.toml

[gcp_service_account]
type = "service_account"
project_id = "xxx"
private_key_id = "xxx"
private_key = "xxx"
client_email = "xxx"
client_id = "xxx"
auth_uri = "https://accounts.google.com/o/oauth2/auth"
token_uri = "https://oauth2.googleapis.com/token"
auth_provider_x509_cert_url = "https://www.googleapis.com/oauth2/v1/certs"
client_x509_cert_url = "xxx"

[bigquery]
dataset = "dbt_xxx_derived"
For Snowflake we recommend setting up your credentials in a similar way to your dbt profile.yml, as seen here
# .streamlit/secrets.toml

[snowflake]
user = "xxx"
password = "xxx"
account = "xxx"
database = "xxx"
schema = "xxx" # This should point to your derived schema
warehouse = "xxx"
role = "xxx"
For Databricks, we recommend setting up your credentials in a similar way to your dbt profiles.yml, as seen here
# .streamlit/secrets.toml

[databricks]
databricks_server_hostname = "xxx"
databricks_http_path = "xxx"
databricks_token = "xxx"
schema = "xxx" # This should point to your derived schema
catalog = "xxx"
Step 4: Specify warehouse
Edit the warehouse you are using on line 10 of the Dashboard.py file to one of snowflake, bigquery or databricks.
Step 5: Run the Streamlit dashboard
Run the command below to run the streamlit locally
streamlit run Dashboard.py
For Snowflake users, in case the dashboard does not load due to errors such as ‘This session does not have a current database. Call ‘USE DATABASE’, or use a qualified name.’ a possible workaround is to assign default ROLE to the Snowflake user that could handle this.

