Productionizing your ML Model
Deploying your machine learning models into production
In this accelerator we have so far learned how to log, register, load and use a machine learning model in your data warehouse. The final step is putting these models into production, this can be done:
- In batch or streaming
- Using a standard Databricks’s notebook job
- Delta Live Table pipeline
- In real-time over a REST API, deploying MLflow model serving capabilities
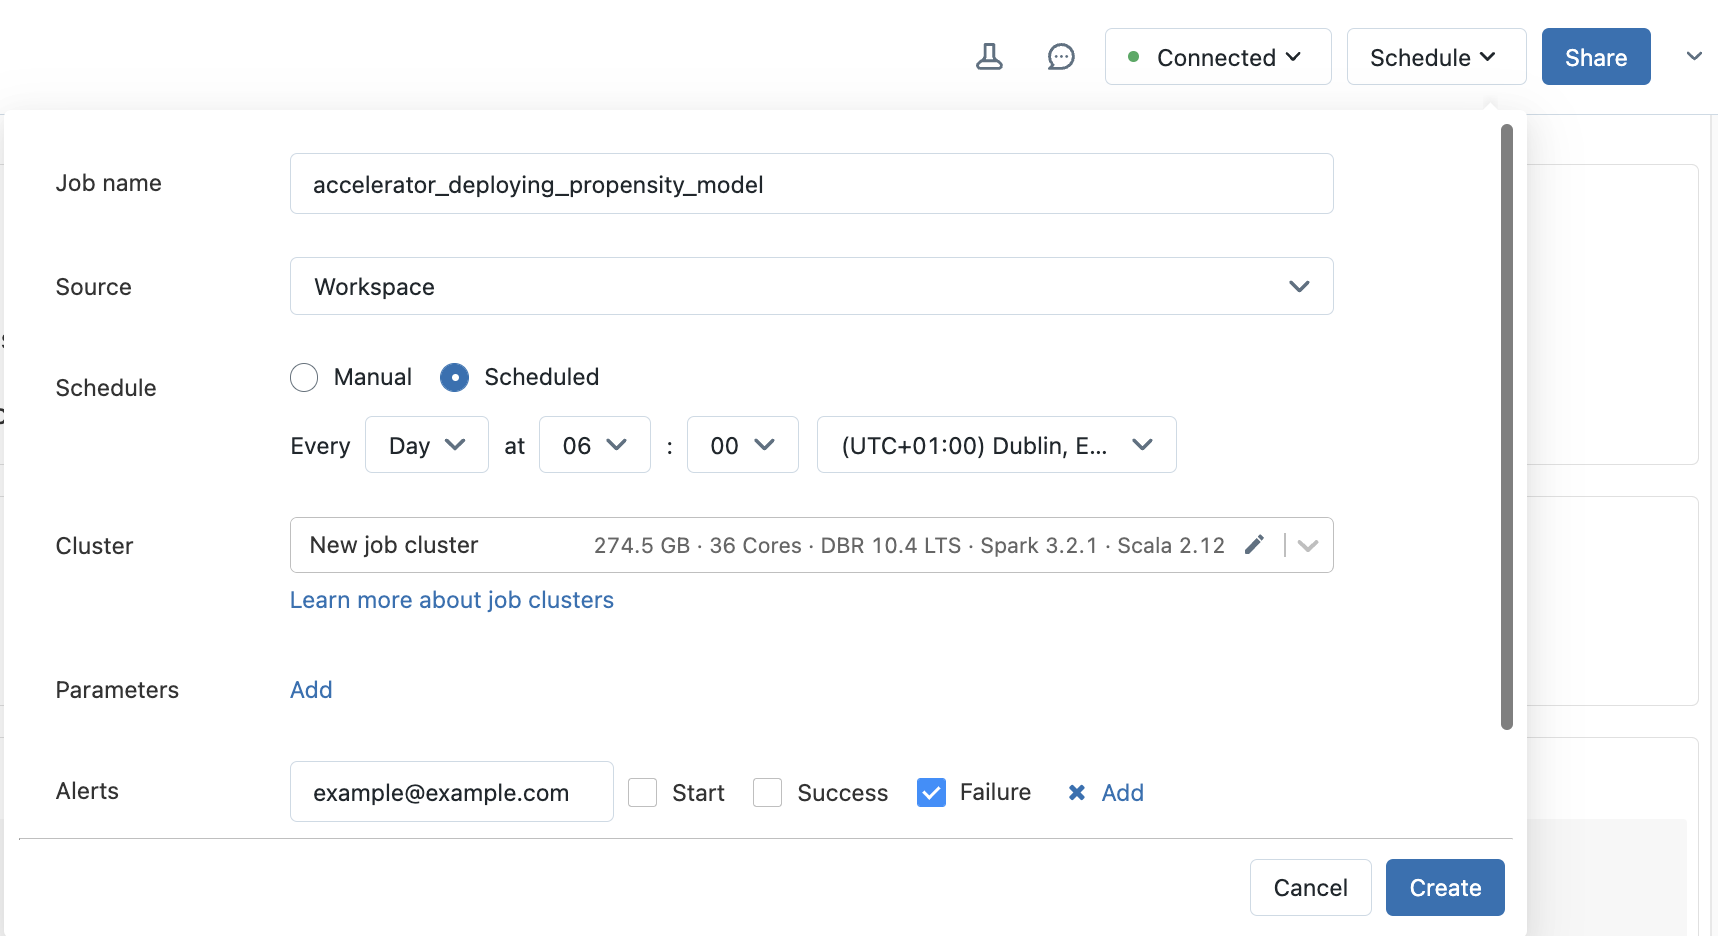
Option 1: Databricks notebook scheduling
The example notebook shown earlier in this accelerator showed how you could load and use your models. This notebook can be triggered to run on a schedule by either creating a workflow job or setting up a schedule from within the notebook itself.
Option 2: Delta Live Tables
If you are using a DLT pipeline, add the steps to load and use your model into your pipeline notebook. See Delta Live Tables introduction for more information.
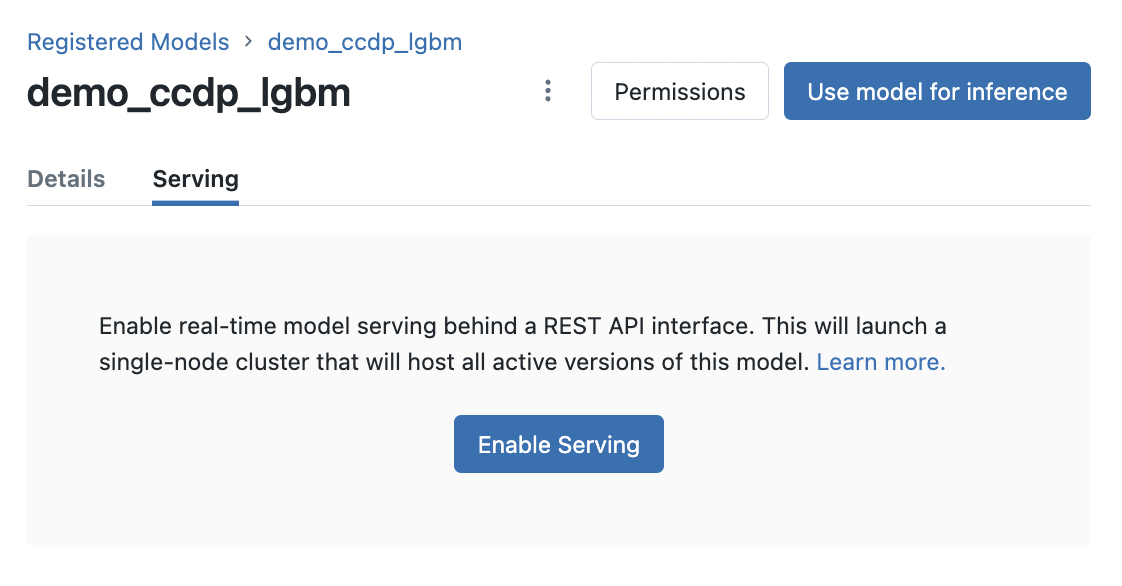
Option 3: MLflow model serving REST API
The following steps illustrate how to issue requests using a REST API to get predictions from your deployed model using MLflow model serving.
Navigate to your model in the Databricks model registry and click Enable Serving for your model.
Send a request from the UI to validate model serving. Click on Show Example to populate the request content with the model example that was logged with your model.
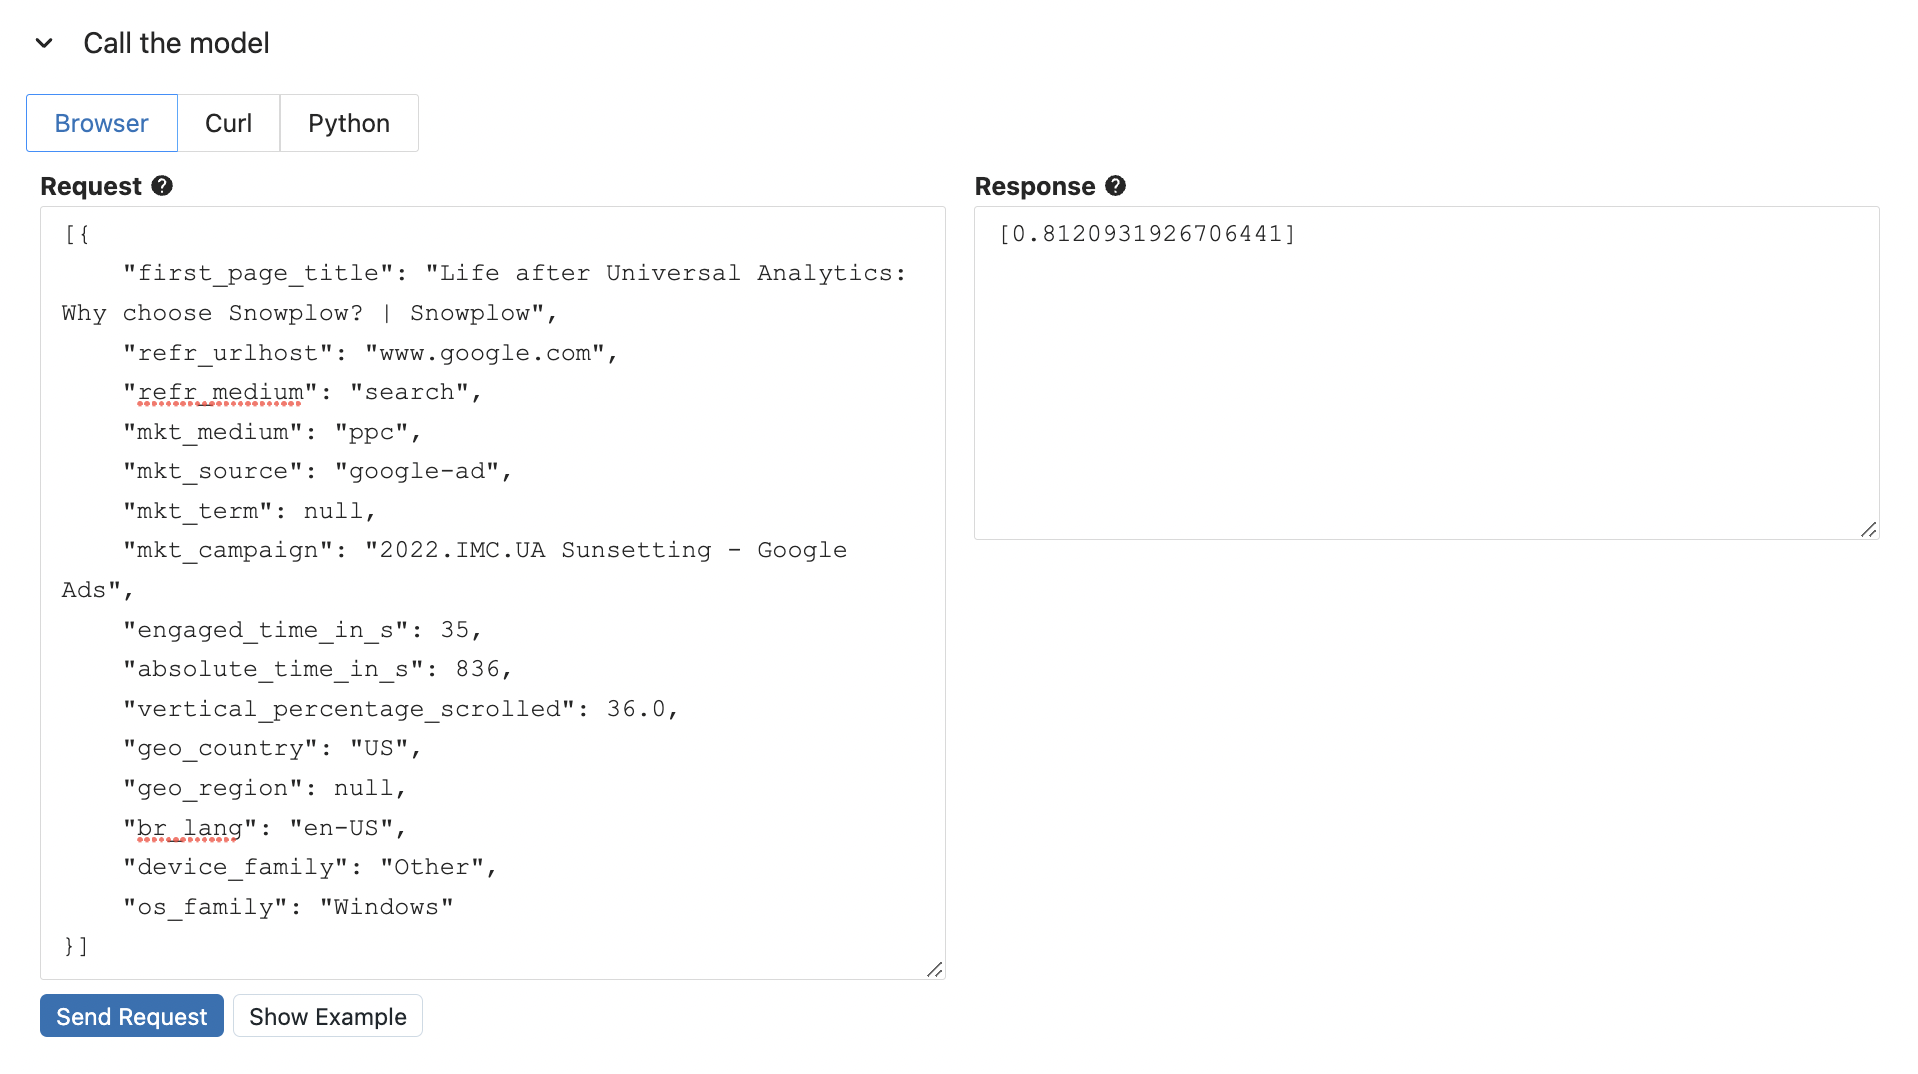
Click on the Python tab under Call the model and copy the python code snippet. This function enables you to use the model outside of Databricks.
# replace with code snippet from the model serving page
import os
import requests
import numpy as np
import pandas as pd
import json

def create_tf_serving_json(data):
  return {'inputs': {name: data[name].tolist() for name in data.keys()} if isinstance(data, dict) else data.tolist()}

def score_model(dataset):
  url = 'https://<DATABRICKS_URL>/model/demo_ccdp_lgbm/Production/invocations'
  headers = {'Authorization': f'Bearer {os.environ.get("DATABRICKS_TOKEN")}', 'Content-Type': 'application/json'}
  ds_dict = dataset.to_dict(orient='split') if isinstance(dataset, pd.DataFrame) else create_tf_serving_json(dataset)
  data_json = json.dumps(ds_dict, allow_nan=True)
  response = requests.request(method='POST', headers=headers, url=url, data=data_json)
  if response.status_code != 200:
    raise Exception(f'Request failed with status {response.status_code}, {response.text}')
  return response.json()
Snowflake Tasks
The example notebooks shown earlier in this accelerator showed how you could save the model training as a Snowflake Stored Procedure and using a Snowflake UDF to call your model for predictions. You can create Snowflake Tasks to:
Schedule model training:
CREATE TASK train_model_monthly
  WAREHOUSE = MY_WH
  SCHEDULE = '1 MONTH'
AS
CALL TRAIN_PROPENSITY_TO_CONVERT_MODEL();
Schedule predictions:
CREATE TASK daily_predictions
  WAREHOUSE = MY_WH
  SCHEDULE = '1 DAY'
AS
CREATE OR REPLACE TABLE USER_PROPENSITY_SCORES AS (
  SELECT
    USER_ID,
    PREDICT_PROPENSITY_TO_CONVERT(FIRST_PAGE_TITLE, REFR_URLHOST, REFR_MEDIUM, MKT_MEDIUM, MKT_SOURCE, MKT_TERM, MKT_CAMPAIGN, ENGAGED_TIME_IN_S, ABSOLUTE_TIME_IN_S, VERTICAL_PERCENTAGE_SCROLLED, GEO_COUNTRY, GEO_REGION, BR_LANG, DEVICE_FAMILY, OS_FAMILY) AS PROPENSITY_TO_CONVERT
  FROM FIRST_TOUCH_USER_FEATURES
);